A casual guide to DeepaMehta, through the experience of a user (just a draft)
Hello, world! or what others call introduction
The first idea about this text was to be a Deepamehta user guide. I found it quite difficult to try to cover everybodys expectations in a single user guide. Even, if I'm honest, I wanted to experiment with the way of writing a "user guide", I wanted to do something more near a literary page, I wanted to tell a story of how does someone learn to use a software. It is not the kind of topic one chooses for story telling, and also is not the kind of style one uses to write a guide, but I want to do the try. Another reason to do it this way, is because I really believe that, every person has a different way of learning, focuses on different things, what is valid for some is not valid for others. So what you will probably find is a mixture of story telling, description of the basic features of DeepaMehta software and the definition of the basic DeepaMehta concepts.
So, though I was invited to do a "proper" user guide. I've decided to have this different approach, and just share my DeepaMehta learning experience with others, hoping that it will help you to put hands-on Deepamehta, and enjoy the experience.
What I want to cover are three different levels:
- A first contact with DM world
- Going deeper into associations
- Creating your own Topics Types in a permament way by creating a plugin
Probably you won't find all the information you wanted or you would like to modify it or even get rid of some parts, you are very welcome to say so here or even better, write all your suggestions to dm-users mailing list.
I believe that feeding commons spaces of communication is a good way to create a community, to learn, to exchange experiences, to hold discussions, so in spite of social networks, I think mailing lists are still a cool way to communicate.
Let's start!!
First we should have access to DeepaMehta platform. You may just want to try it, using the online demo, but remember that all you do will be deleted that night, so I suggest to install DM in your computer. The process is quite simple and already very good explained in the README file.Here I will just remind you the way to start DM, remember that it depends on your platform.
  deepamehta-linux.sh         # if you are under a GNU/Linux system choose "Run in terminal"
  deepamehta-macosx.command   # if you are under MacOS double-click it
  deepamehta-windows.bat      # if you are under Windows double-click it
So now, you should be seeing this in your browser
Situations
One of the things that DeepaMetha(DM) helps us with, is to build a knowledge map. Normally we find ourselves in situations that we want to reflect somehow, that then evolve to something different, which then partially change and so on. Many times we find ourselves taking notes, suddenly we need to write side notes with extra information, then we draw lines to connect concepts, so our original clean notes end up looking like a mess for others though they make sense for ourselves.The way we retrieve information is not linear. DeepaMehta will help us think around situations and reflect them in a different way than linear texts.
So this guide, what it really is, is a use case, it began as an informal conversation with a friend, evolved to become a project, and meanwhile, here I am, writing it as a kind of guide.
Everything started a quite dull day, when you think what the hell are you doing with your life, then a friend appears in the chat, you start asking about how is the weather here or there, then you begin sharing ideas and you end up so excited about them, that they become a future shared project.
Everything that is becoming a project, needs taking notes. The notes from that first conversation looked like this:
  Marina(Barcelona) is doing a project with the neighbourhood organization AAVVB
  Participants: Marina, the group XXX from the University UOA (Pep and Rosa)
  The goal: Map the changes in the neighborhood in the last decades
  How: Going for a walk around the neighborhood with old people
  At the end of the walk photos will be taken and uploaded and associated to their location in a map on the website.
  The conversations will be recorded and a short text transcription will be also uploaded to the website.
  Maybe there is a possibility to create a collaborative project with a neighborhood in Berlin
  The project will last for one year
While writing down the notes, the tool I saw that fitted perfectly was DeepaMehta.If we want to represent the memory of a neighborhood, we are talking about connecting places, people, situations, events, conversations, history, architecture, songs, urbanism, etc. Each of these agents can have their own connections, so information can extend for ever. Also memory has no limits, memories come and go, they show up at any moment, so to be able to collect them and give continuity to the project, is needed a tool that is flexible and usable by the user. Let's understand why DeepaMetha would be the right choice.
Some things that we'll see on our way
Before we start, reflecting the notes taken in the meeting, in DeepaMehta, I'll just introduce a couple of concepts, that you are going to see everywhere. Is not that you need to know them in advance, but somehow, I think is good to know the very basics as a starter. when dealing with DM, you'll get used to the following terms:
- Topic: represents any concept, from people, countries, and organizations to software modules, individual files, and events,
- Association: represents relationships between topics
Topics and Associations are the essence of DM, therefore once you have them clear, it's time to get a bit familiar with the look and feeling of DM interface.
When you work with DM, the screen will always be divided in 3 parts:
- the main area is the Topicmap Panel: it shows network structures, consisting of topics(the little balls) and associations(the lines).
- the right side there is the Detail Panel: it always shows information about the selected topic/association. Here you enter data too.
- At the top is the Toolbar. It allows to create things, and to search for things.
While trying to show how DM works, I'll explain many stuff, which you will need repeatedly, so I thought that it would be good to have a quick way to access to it. So the idea of the next list of links is that it can help you to jump from one thing to another, depending on the needs, while "Deepamehting" your notes.
How to create topics
How to create associations
If something is visible and I want to hide, how to do it?
My screen is too full, I would like to create a new topicmap
Revealing photos in my map
Cool!!, I can see my blog from inside DM
What is all that information in the Detail Panel about?
Default topics are not enough, I want to create my own topics
I want to create my own associations
The list above, also gives a clue of the needs I've had while transfering the notes to DM.
Now in order to get things done we need to log in, so click on the login link on the top right side of the screen; introduce "admin" as user and leave the password blank. To dive better in DM, a suggestion is to set your browser to full screen(usually F11), so you enter in DM mode ;-)
The first step I did, was to create the people that are going to be part of the project.
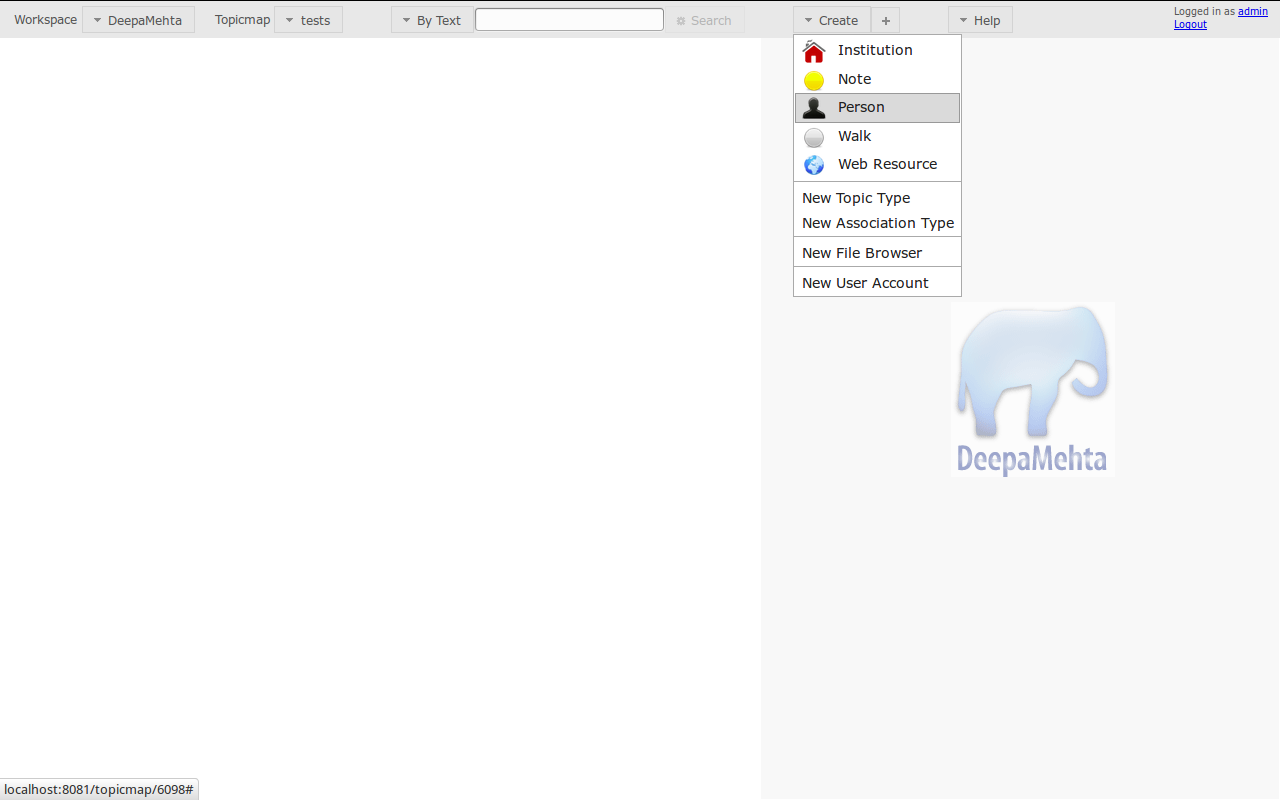
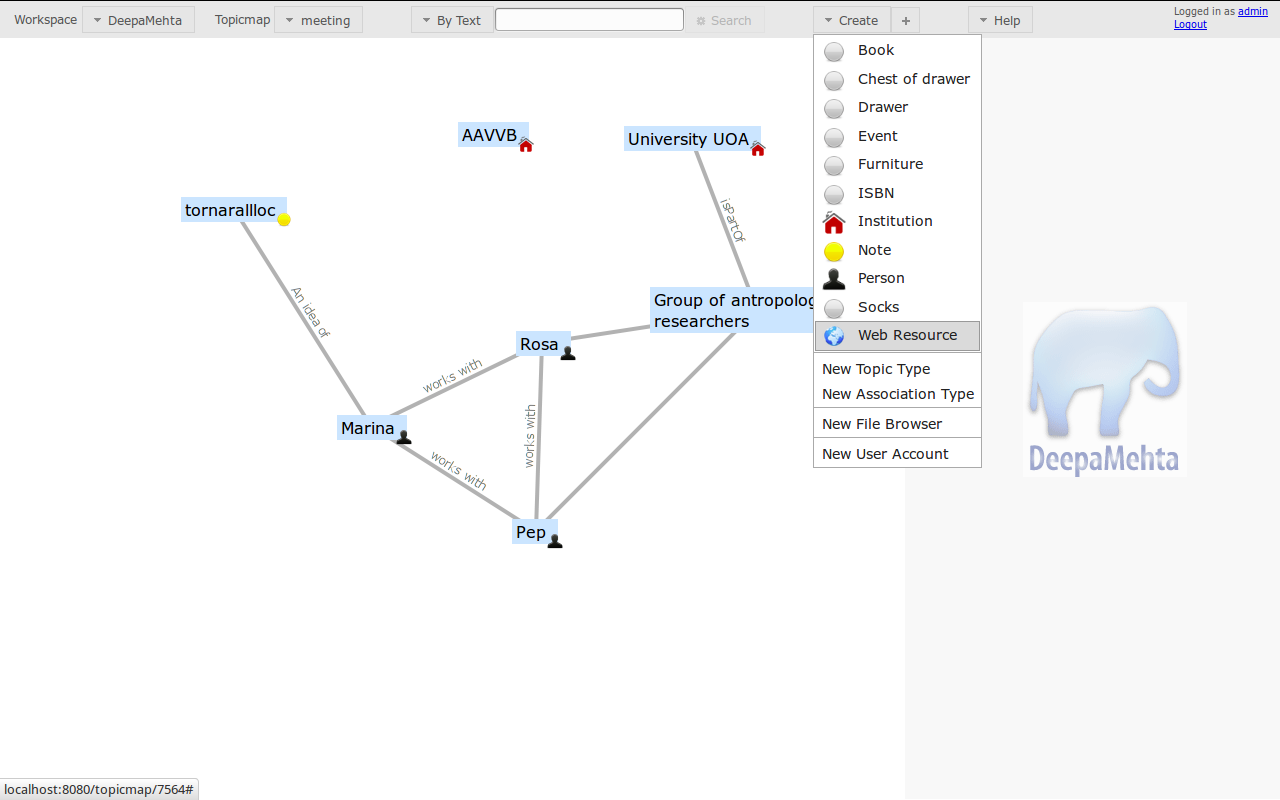
In the Toolbar you'll see a Create drop-down menu. If you take a look at what there is, you will see that by default it appears "Person", "Institution", "Note", "Web Resource". So perfect, for the moment we will use "Person" to create the people that are part of the project.
Now we can create 3 "Person", Marina, Pep and Rosa.
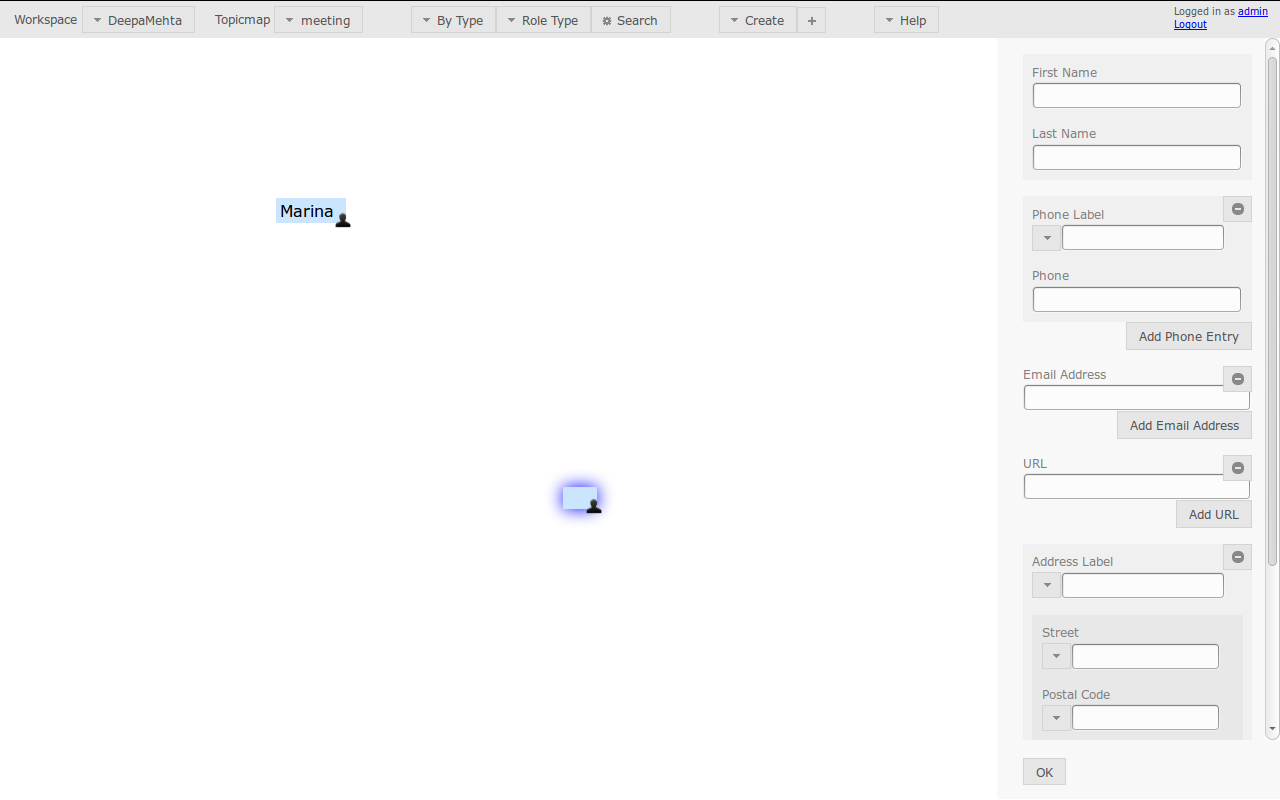
I will show how to create "Person" Marina, and in the same way were Pep and Rosa created.
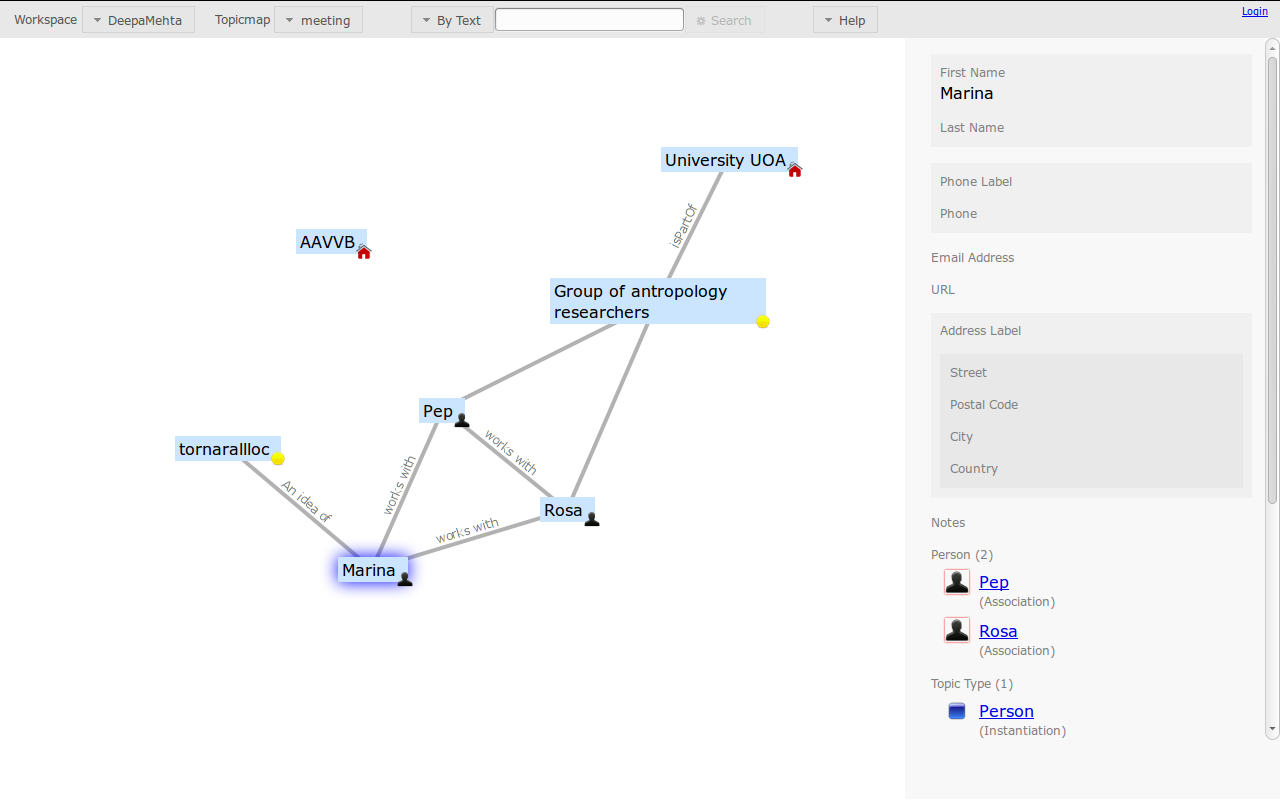
If you select "Person" Marina, in the Detail Panel you will see, that you can enter some information about the person, like the name, telephone, emails address, etc. All that information is optional, and if you leave it empty, afterwards you will be able to fill it in.
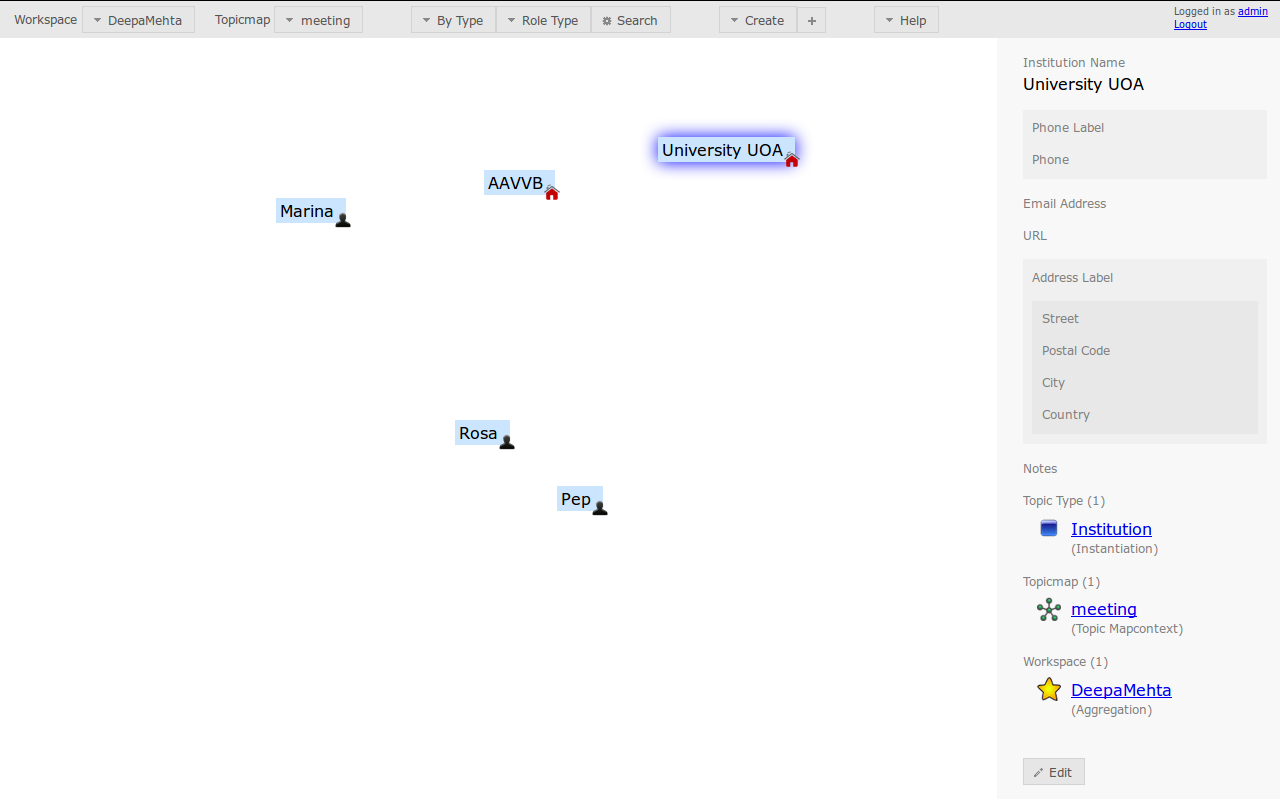
The second step, is to reflect the institutions that are involved in the project, those are AAVVB, University UOA, so going to the Create drop-down menu, we create 2 "Institution"
Next, I wanted to reflect that in the University there is a group of researchers taking part, so because in some cases, there is not a topic that matches exactly with the needs. For the moment, let's create a topic "Note" to reflect the fact that a group is in the project. That "Note" can have a name and a description, that we can use to give an explaination of the research's group work.
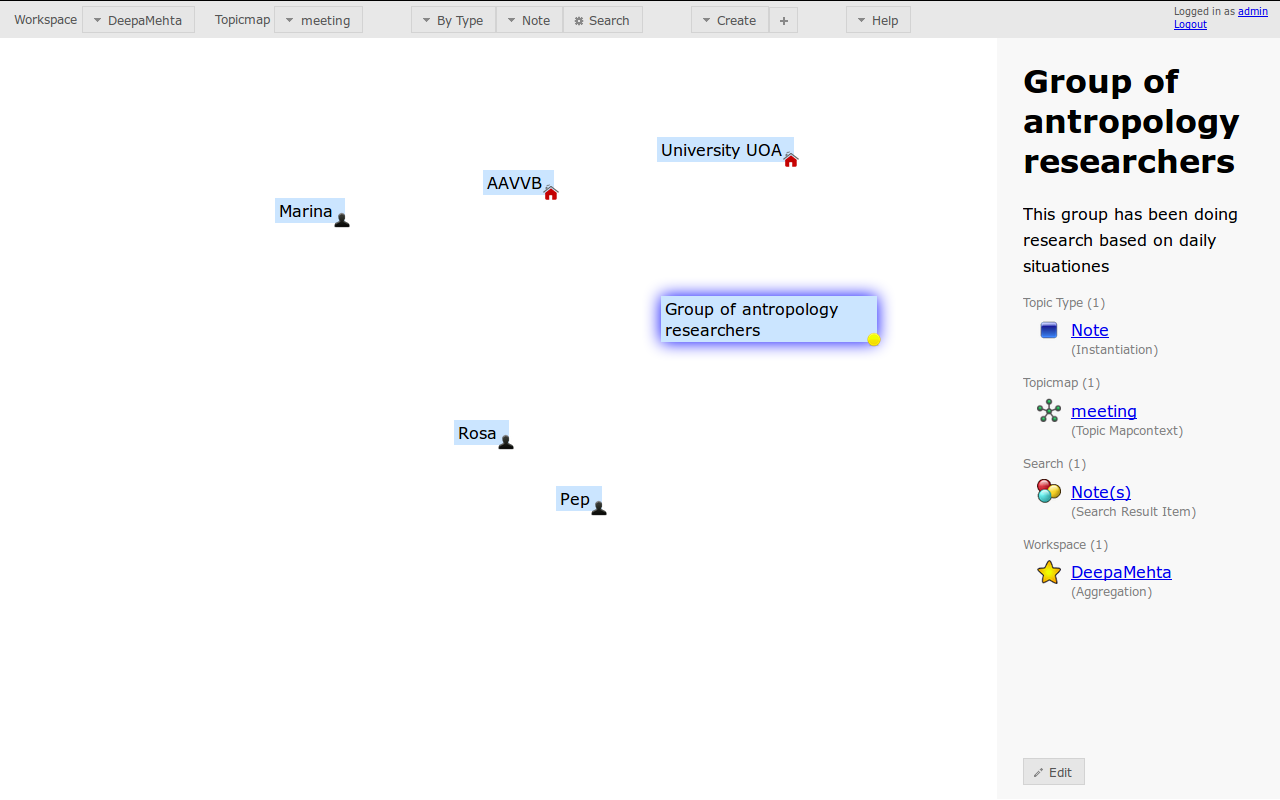
Now, in the left panel, we have the main elements of the project, but they are all isolated from one another, but since they are part of the same project, there must be relations between them, let's see how to show those relations.
The elements, until now, are 3 Persons, 2 Institutions, 1 Note, which in DM language would be 6 Topics.
Now we want to establish the relations between the Topics. In DM language the relations are called Associations
Marina, Pep and Rosa work together, so we could say that Marina "works with" Rosa and Marina "works with" Pep, and in the same way could we do with Rosa "works with" Pep.
To actually visualize the relation between the three of them, let's do it with Marina as an example. If you right click on Marina, a menu will display and you will see the "Associate" option, click on it.
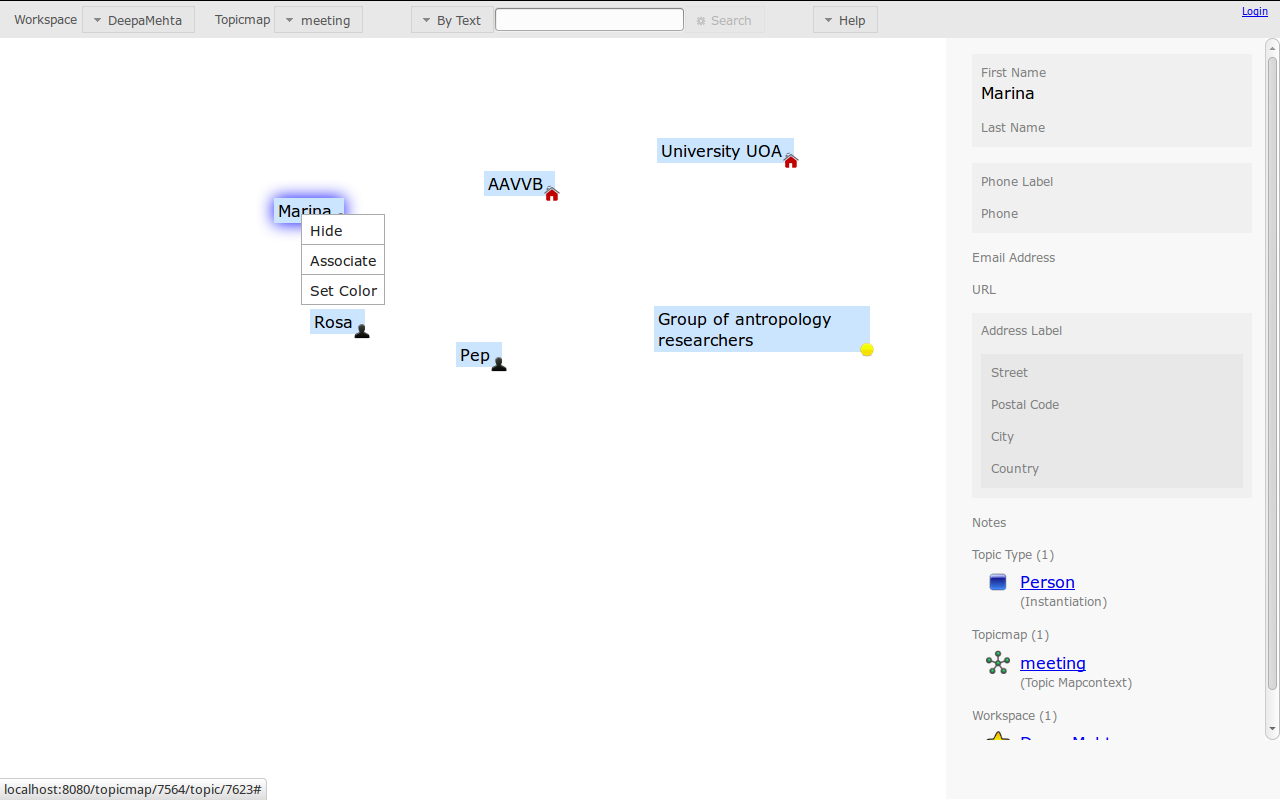
A line will appear, drag it to Rosa and click, so an association is created. So now Marina is associated with Rosa.
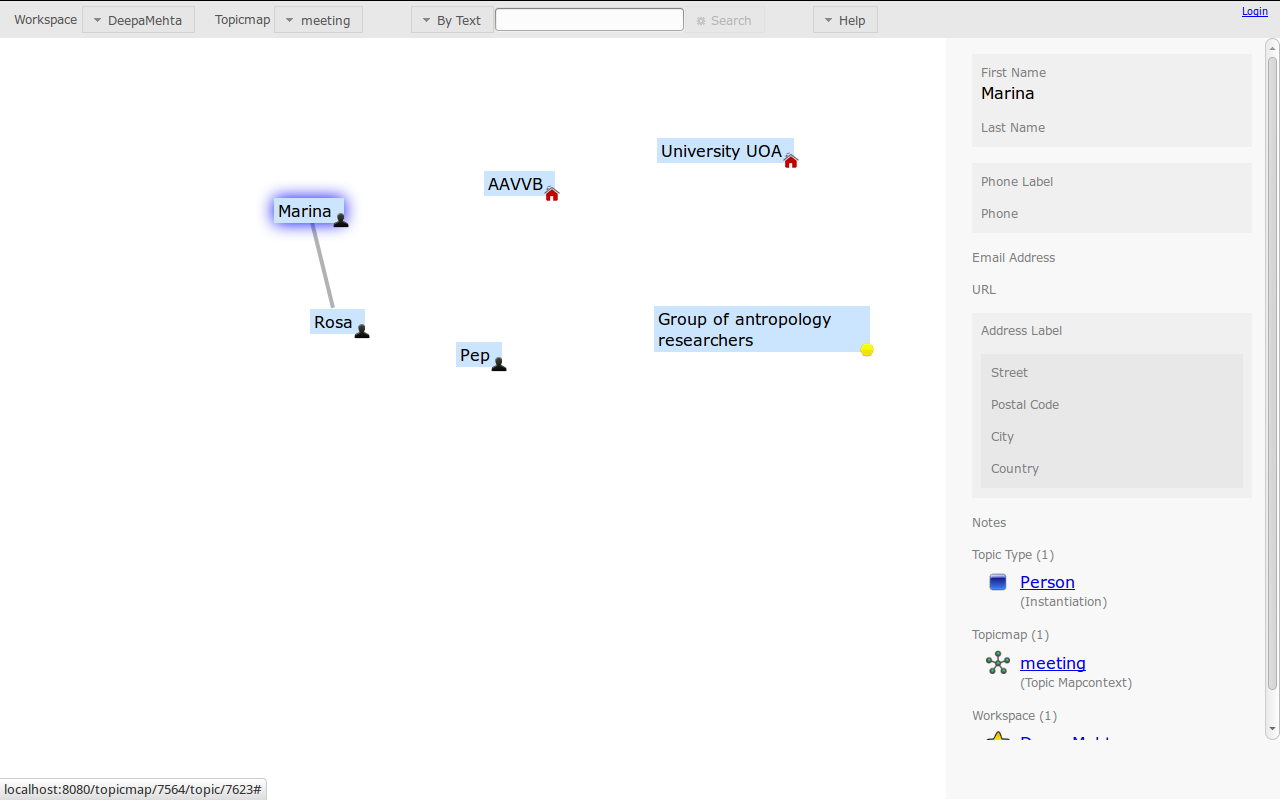
We repeat the same process to create the relations between Marina and Pep, and Rosa and Pep. Now the three of them are connected.
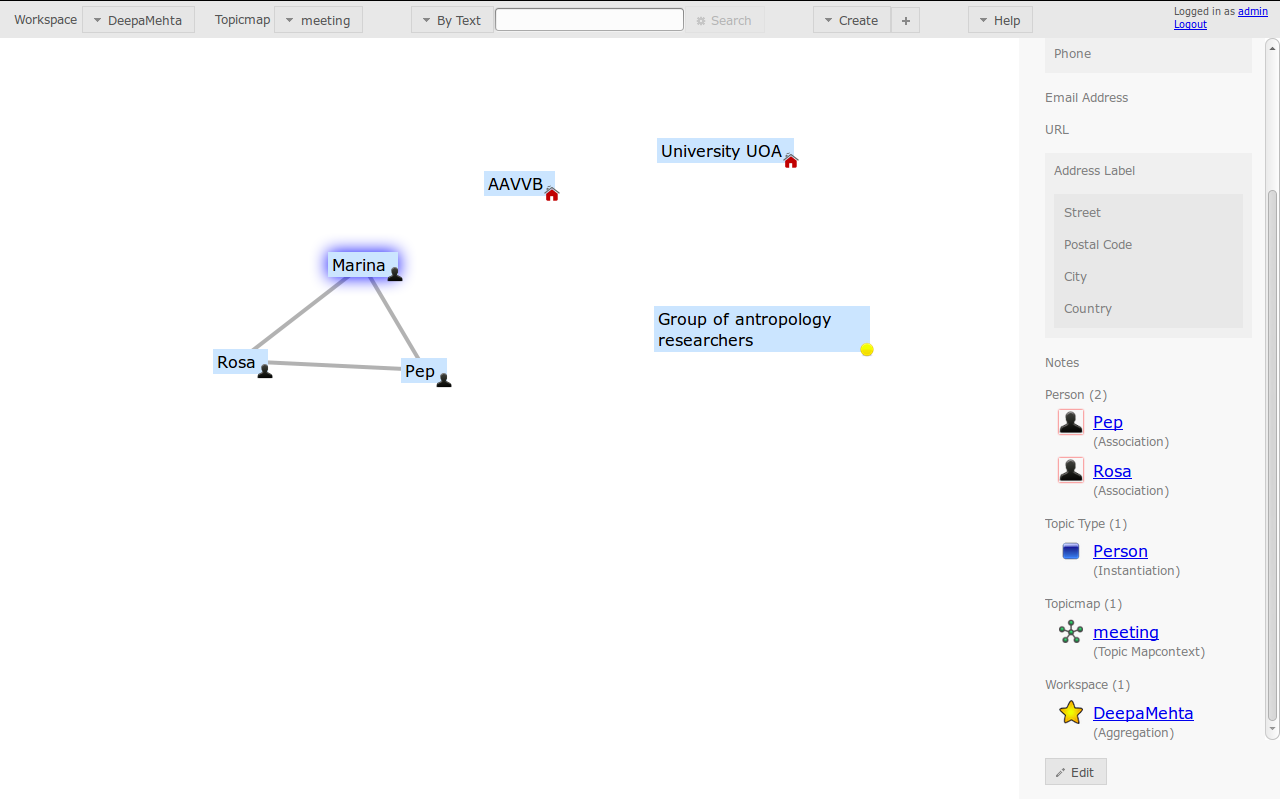
While we are working on a project, we tend to have in mind, what kind of relations are between things, but if we move between projects, if several projects share part of the elements, we can forget in each project, which is the specific relation between elements.
So a good thing, to understand at first sight our own notes, is to name the association. It's really cool, to be able to do it, because associations are also editable. Let's name this association in a descriptive way, and write "works with".
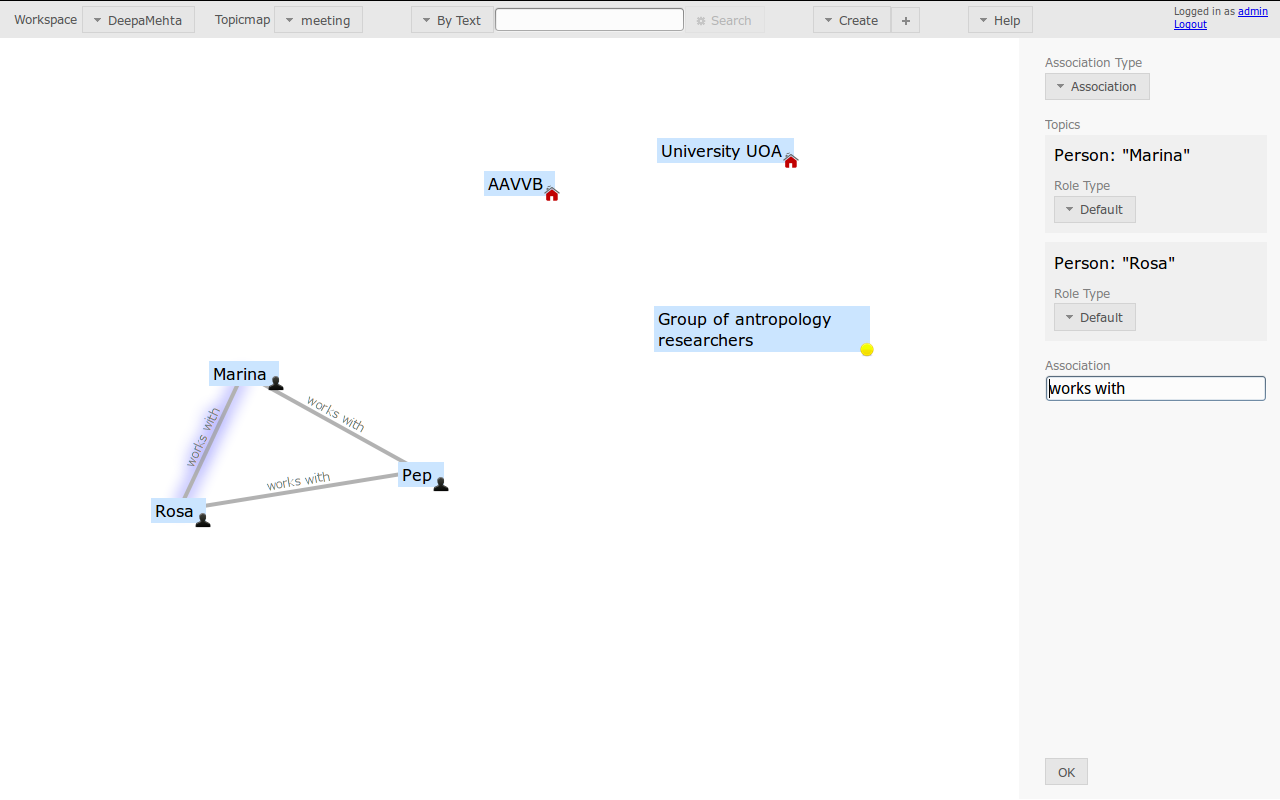
Since the associations between topics are all independent, in order to name them, you have to edit each of the other associations, to also name it individually.
If you double click on the associations or the topics they will become editable
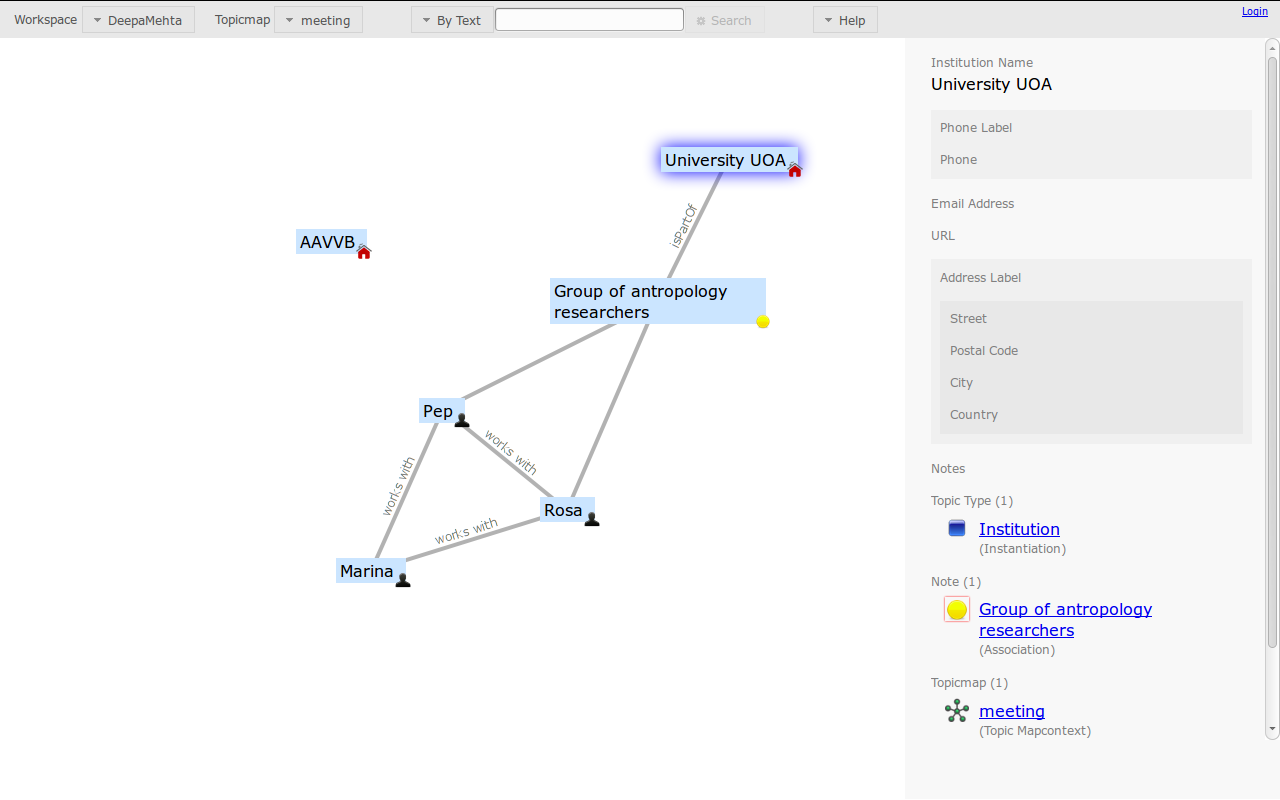
Now let's create the associations between the Note "Group of researchers" and, Pep and Rosa

Since we know that the "Group of researchers" belongs to the UOA University, so we can also establish an association between them, and name it, for example, "isPartOf", since the "Group of researchers" is part of the University.
The screen is divided in three parts,
- a Toolbar at the top, we'll explain the options shown a bit later
- a left panel that is called Topicmap Panel, there you have the Topics and Associations
- a right panel that is called Detail Panel and shows the details about the item currently selected
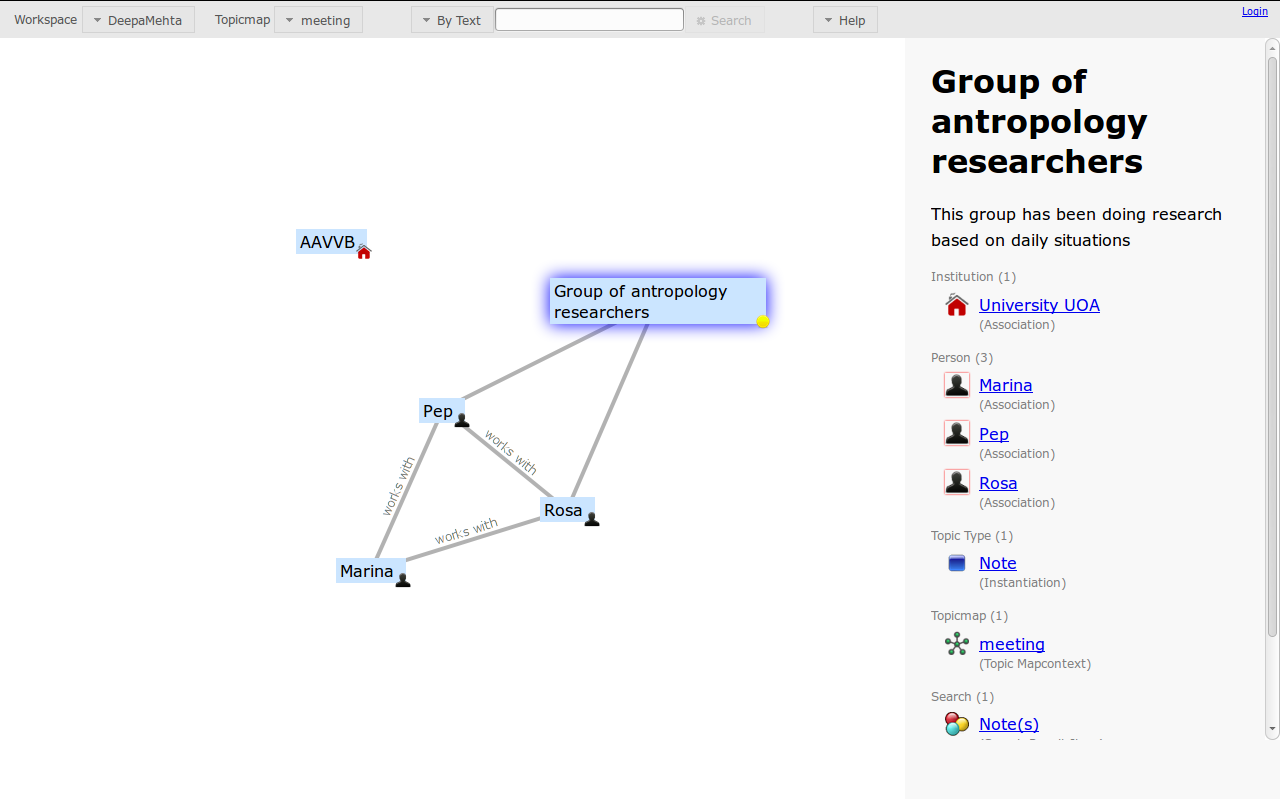
Let's have a feeling of what can we see in the Detail Panel. If we click on the Note "Group of researchers", on the Detail Panel we can see that at the top, we have a block of information that is the "Name" and "Description" of the Note, underneath we can see all the associations that the Note has in the DM world, we'll go in detail later
.
Tea time!!!
Oh, yes!!! We need a break, some relax, stretch the legs and a cup of tea

Feeling better now, right?
Ok, until now, I've just put the information related to the people involved in the project, so the next thing is to create the project itself, what consists of, how is related to the people, web resources where more information can be found.
By now, probably your main area in the left panel is quite full, so one of the things to have in mind is that DM Topicmap Panel is infinite :-), so you just have to move things to the place where you feel comfortable, so click on it and drag it, it will move :)
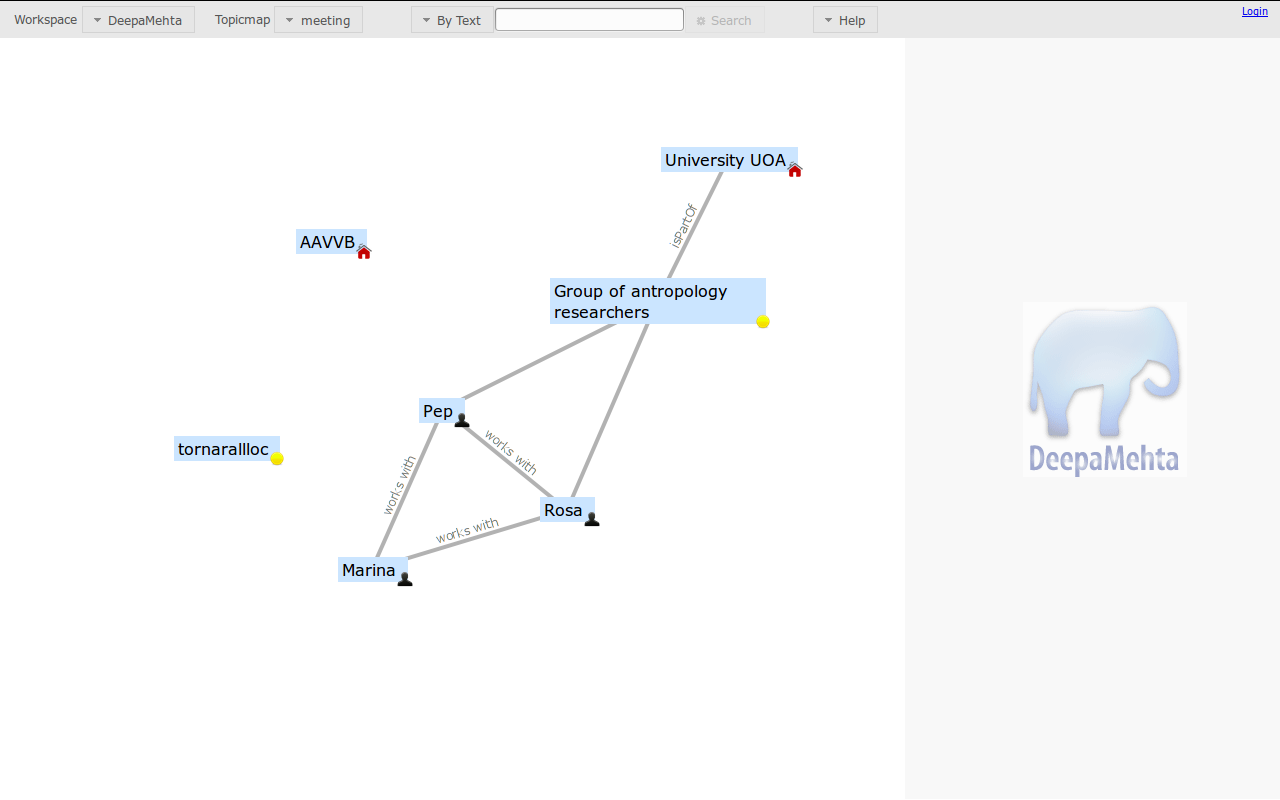
Once we've situated the canvas where we wanted, we create another "Note" and call it with the name of the project "Tornar al lloc".
Let's remember the goal of the project and how would it be achieved.
Map the changes in the neighborhood in the last decades
Going for a walk around the neighborhood with old people.
At the end of the walk photos will be taken and uploaded and associated to their location in a map on the website
The conversations will be recorded and a short text transcription will be also uploaded to the website.
First, lets create the relation between the project and the people involved. Since the project is an idea of Marina, We associate it to Marina, we wil call the association "An idea of"
To establish an association you can also drag the icon at the bottom right to the Topic you want to associate with
The project will have a website, in which several materials will be uploaded. So, let's first create the website as a web resource.
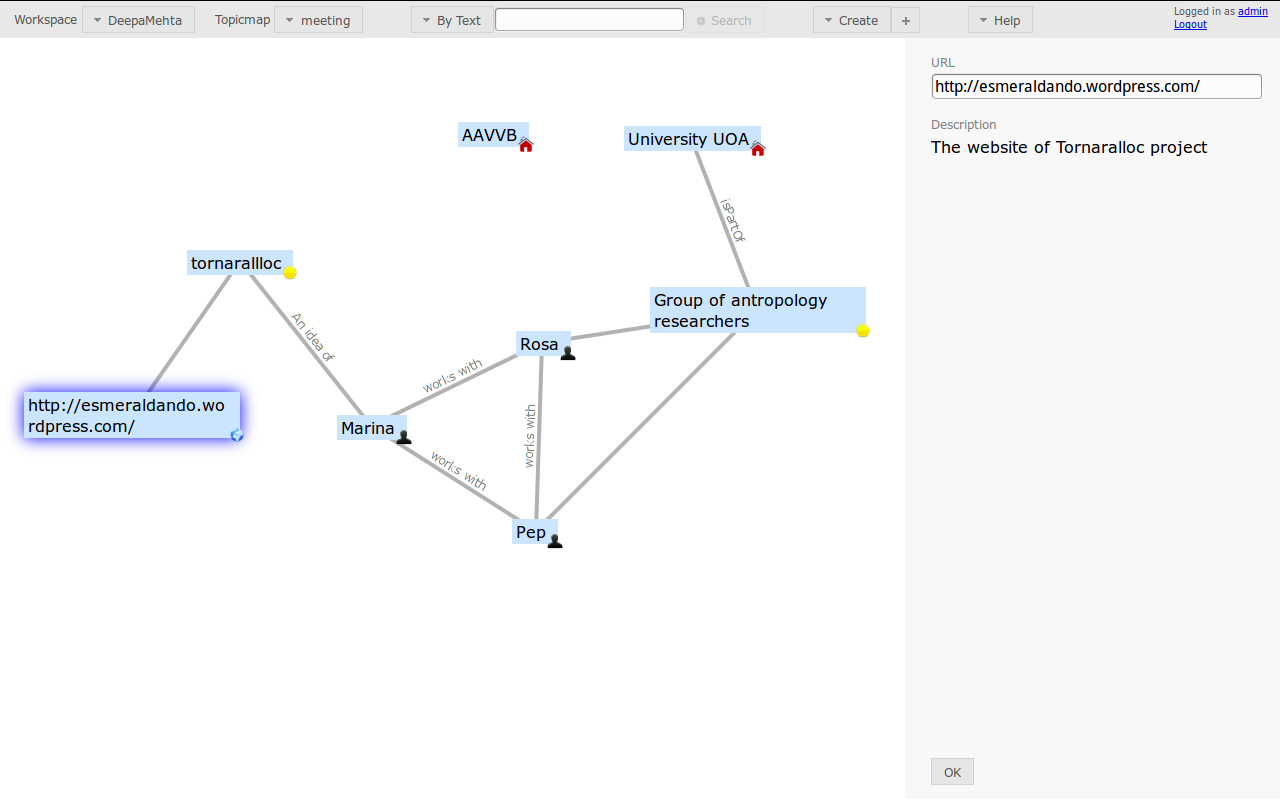
Go to the Create menu in the toolbar and select "Web resource", then you can write the URL of the project on the Detail Panel and a description of the site.
Next is to associate the "Web Resource" to the project.
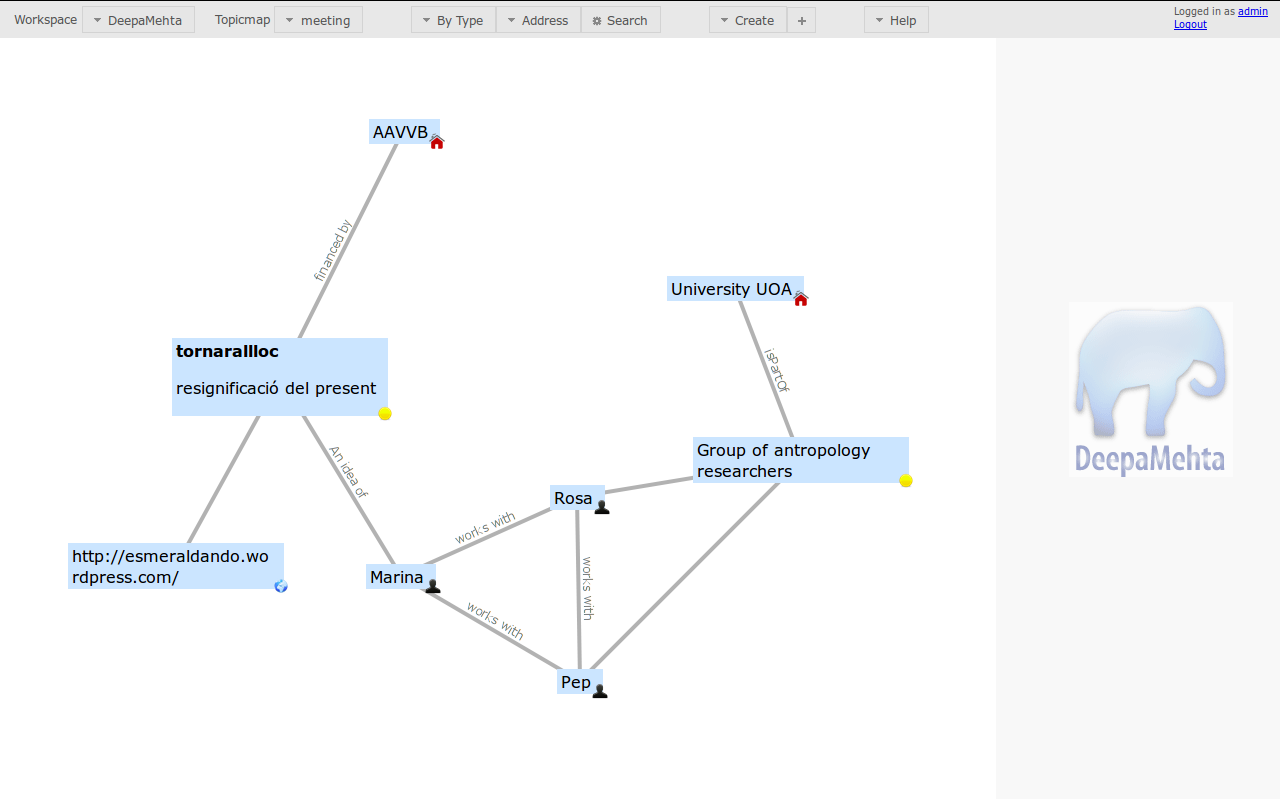
Now, we know the Web Resource of the project "Tornar al lloc", but there are several things pending, like reflecting the relation between the Institutions and the project. Let's begin with the association between the AAVVB with the project. The AAVVB would be institution that will finance the project.
Ok, until now there is a map where the relations between the project, people and institutions involved are showned.
The next thing that needs to be done, is actually define what will the project consist on. On paper-mode, the thing would be to pick a new piece of paper. To do that in DM we will create a new Topicmap.
Before starting with something new, let's take a sip of the tea we had, a quick one, before continuing.
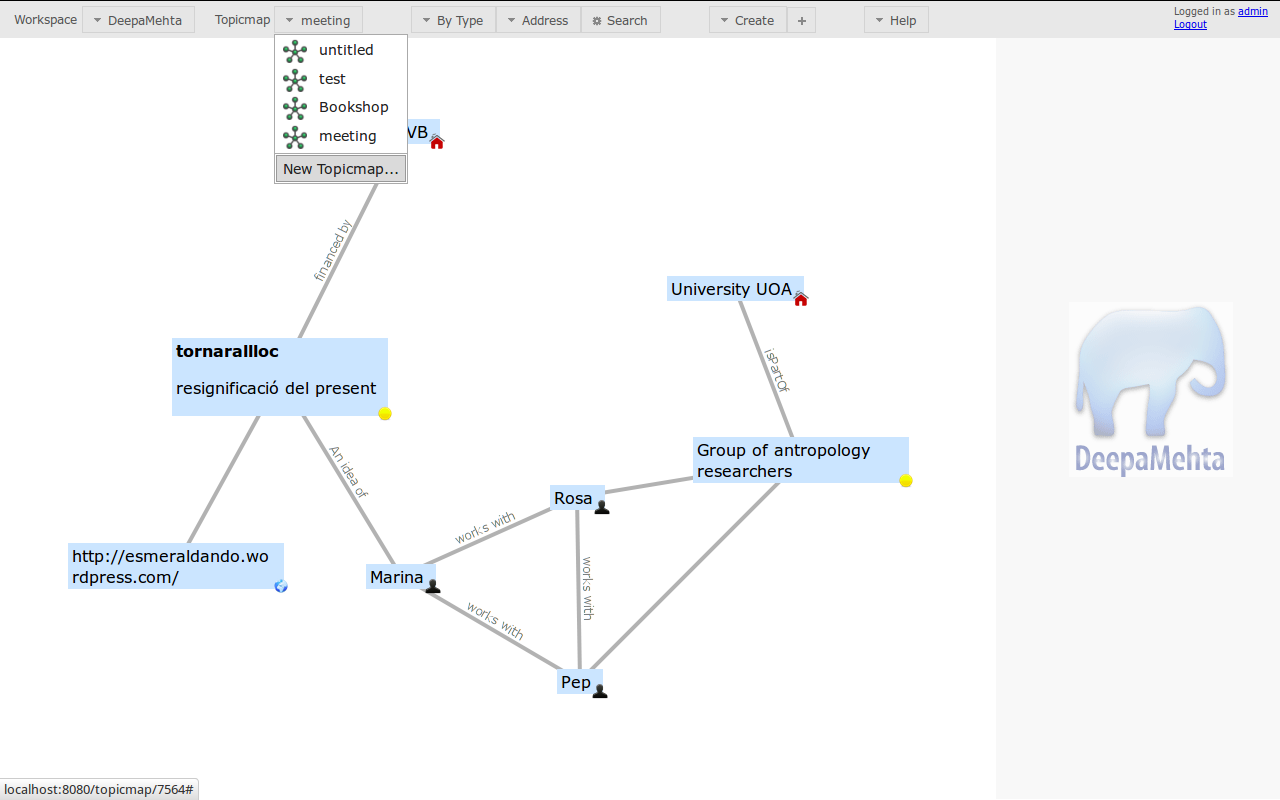
Back to work! The idea before the break was to create a new "Topicmap", since we want a "new piece of paper" where to describe the project.
To create a new Topicmap, go to the Toolbar, click on Topicmap drop-down menu and click on "New Topicmap", let's call it "tornarallloc"
Now, there is a brand new screen, which would be like a "new piece of paper", in this blank space the description of the project will be reflected.
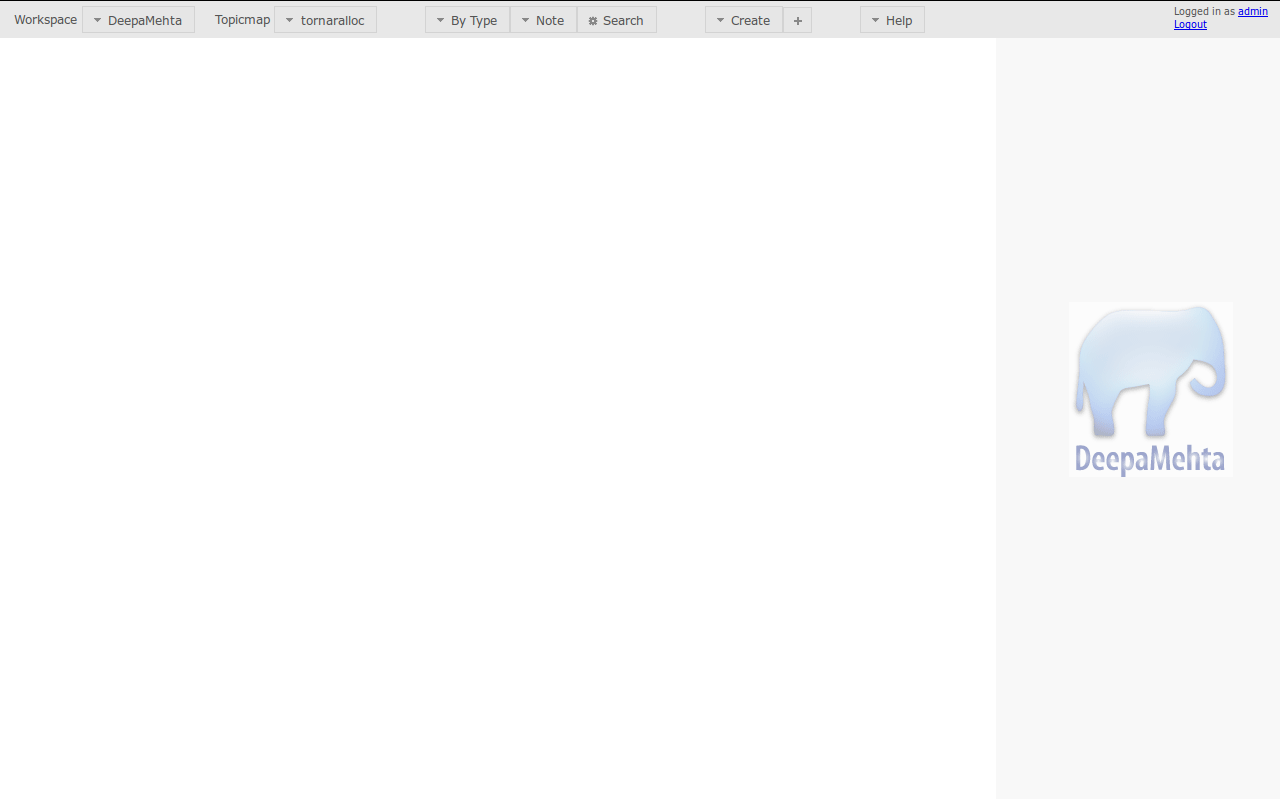
mmmm, a bit scary to see a blank screen again? Probably there is part of the information already introduced and it can be reused. That's one of the great things in DM, when creating a new Topicmap you still have all the previous created topics available :-) Let's bring them back!
We want to see again the "Note" "Tornar al lloc" and the reference to its "Web resource". Let's stop a moment and introduce a new concept, Type. Until now, there has been a mention to Topics. Topic is a generic idea, a concept, by adding the Type we are making a reference to a specific thing, with specific properties, that is Topic Type is an instance. In the case of Note these properties are Name and Text. So our Topic Type Note would be composed by a Name and a Text.
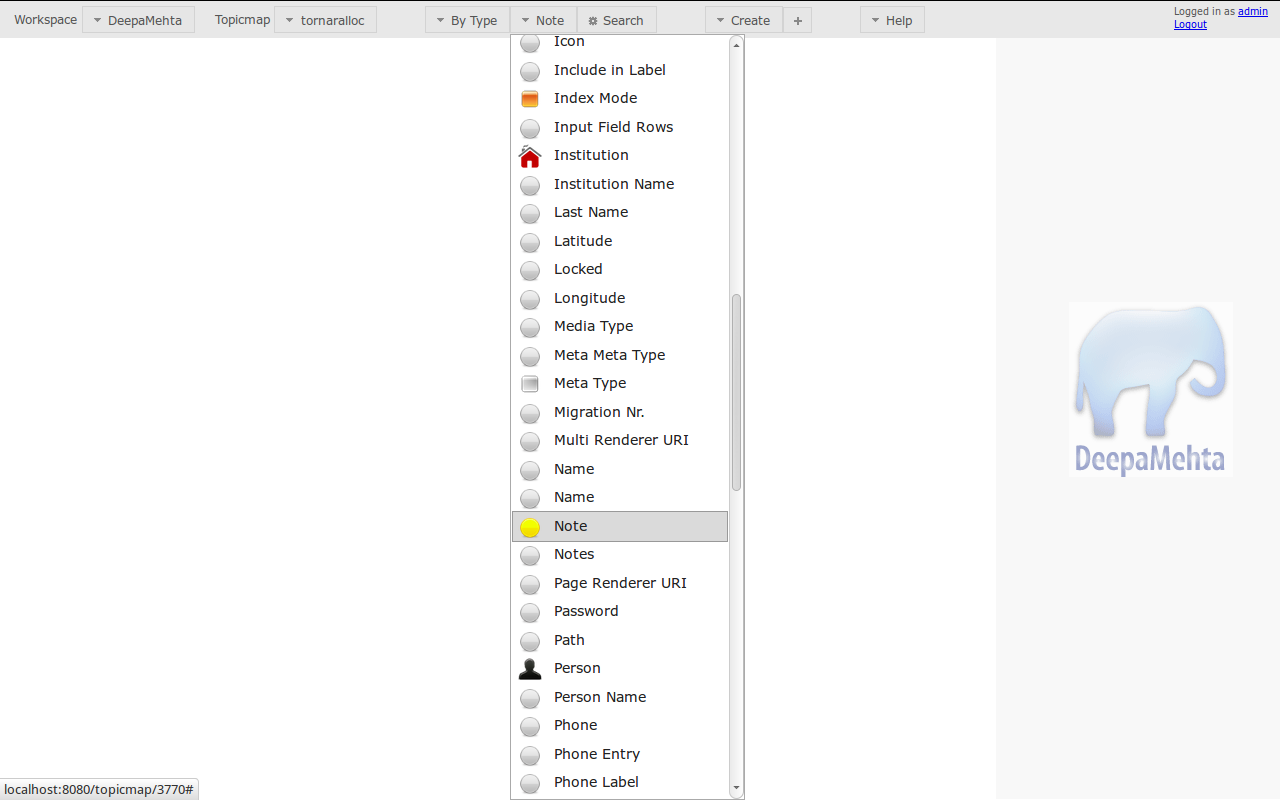
Why is it important to know this?, we were at the point of trying to bring back "Tornar al lloc" Note to our new Topicmap, so on the top Toolbar menu, you have a Search option, there, you can search by Text or by Type. In this case let's search by Type, now that we know that Note is a Topic Type.
And what will appear in the Topicmap Panel is the term searched.
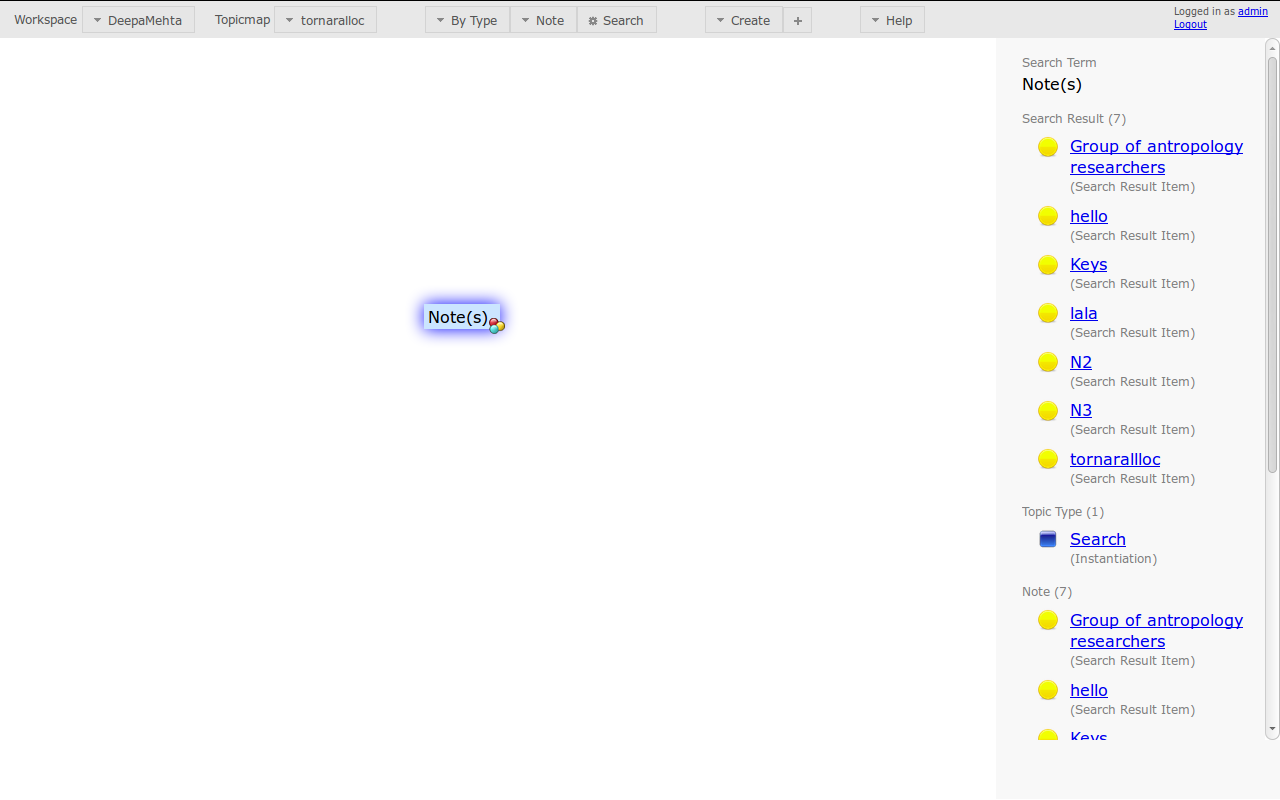
Now look at the Detail Panel, you will see all the Notes that have been created on your DM world. Look for "Tornar al lloc" Note on the Detail Panel, click on it and then it will appear in your brand new Topicmap :-)
If you want to show in the Topicmap, any of the info associated with the Note "Tornar al lloc", just take a look at the Detail Panel, for example, let's recover the Web Resource, click where says Web Resource and hop!! the URL of "Tornar al lloc" website will be shown on your Topicmap.
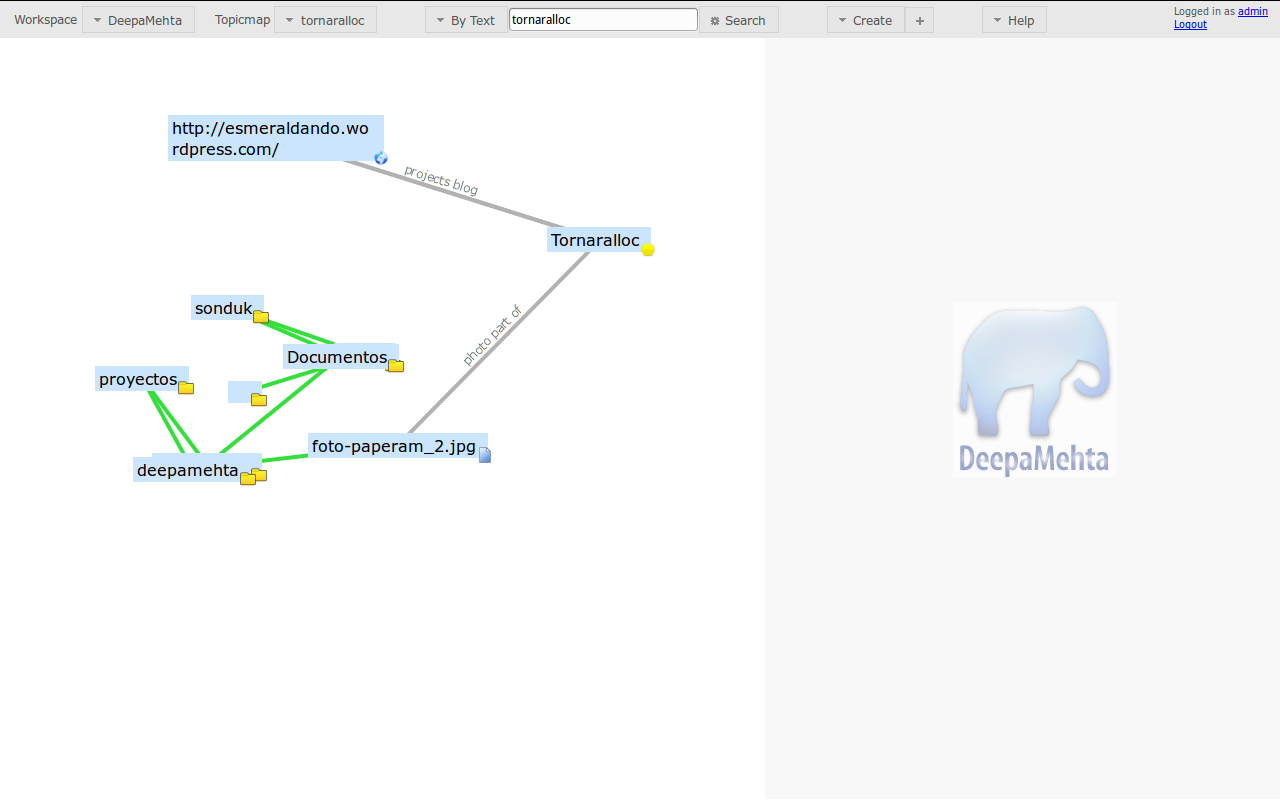
Probably you've noticed that you still see your search "Note(s)" but is not really something that interests us to see, so let's hide it :). DM let's you hide and show Topics and Associations at any moment.
Right click on the Search term "Note(s)" and click on "Hide". Hidding the Topic will hide also the Association. If at some point you want to see the Topic Type but not the Association, you can right click on the association, click hide and then just the association will be hidden.
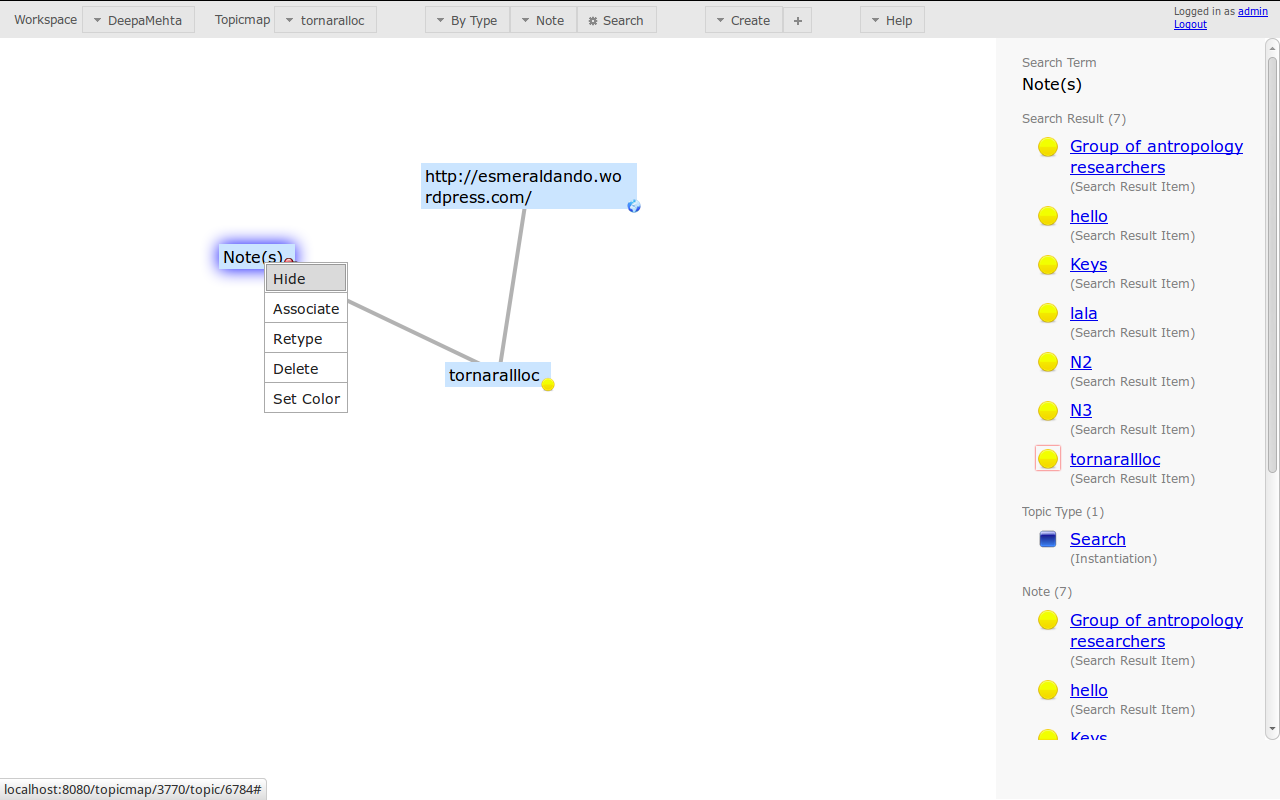
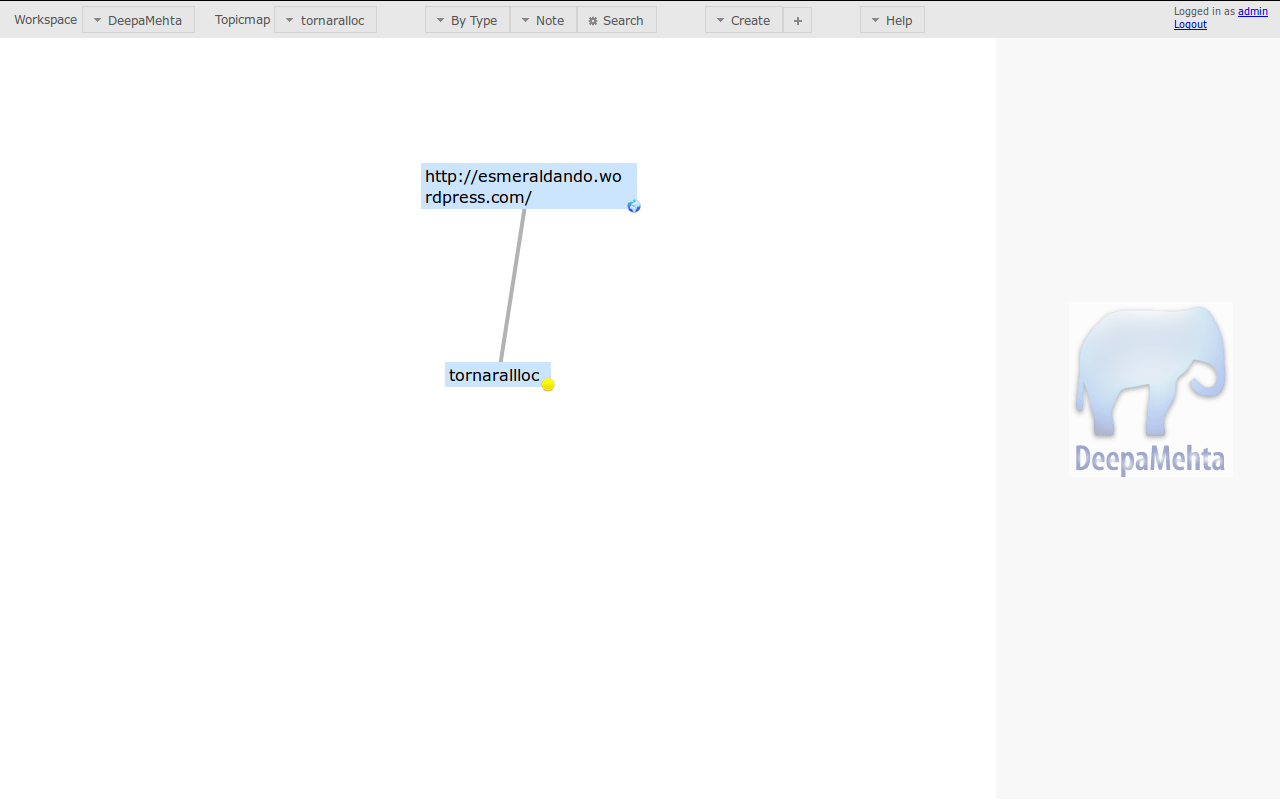
So by now, your new Topicmap will just show the Note "Tornar al lloc" and the Web Resource associated to it, which is the URL of its website.
We've done quite a lot of things, so Tea time!!!
Now,let's revise what material is going to be generated during the project, that would be needed to be reflected in this map:
- Upload photos
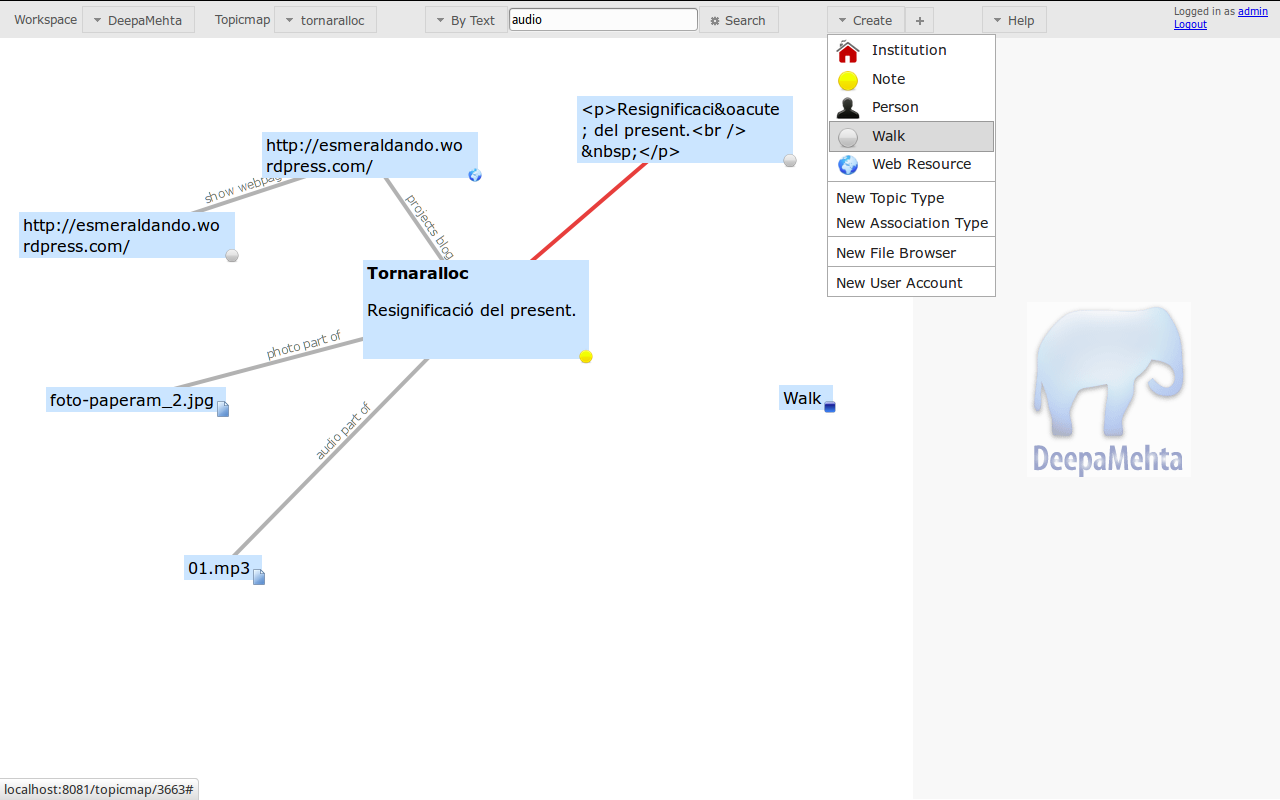
- Upload audios
- A short transcription of the audio
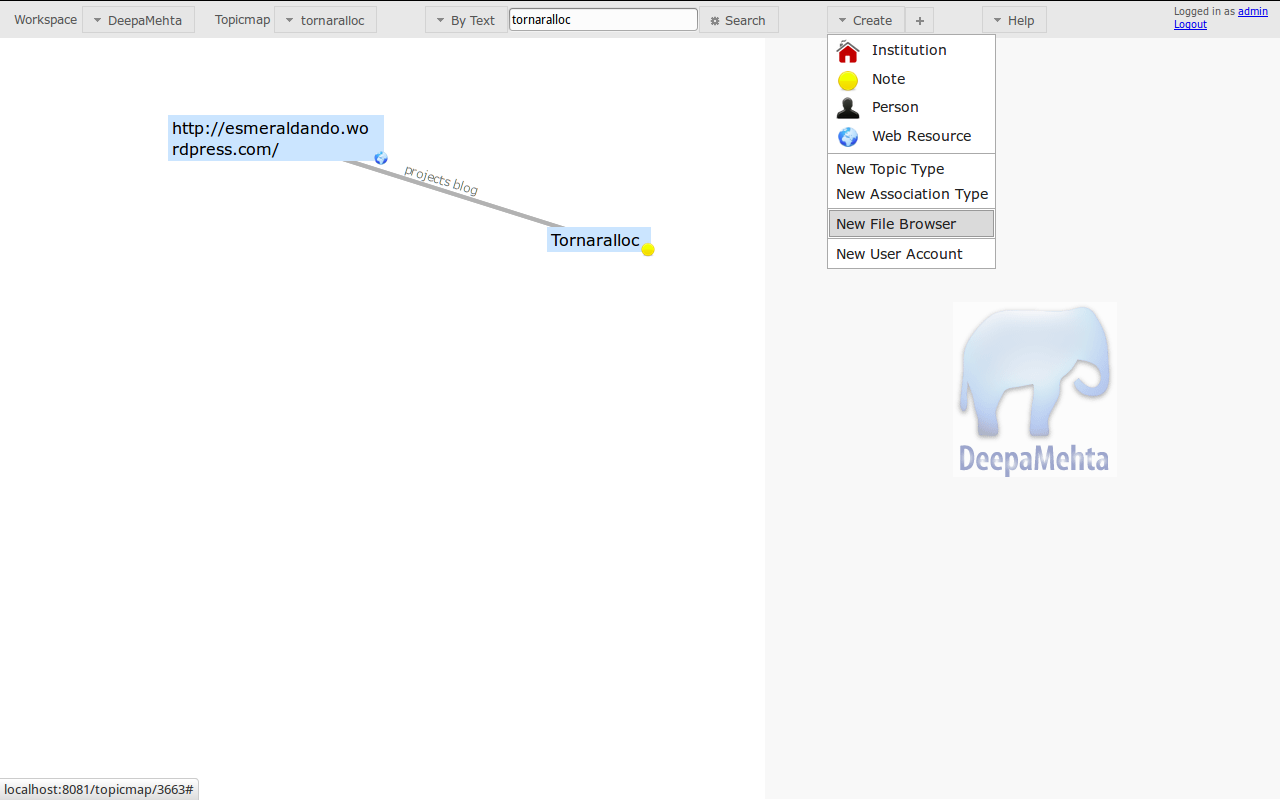
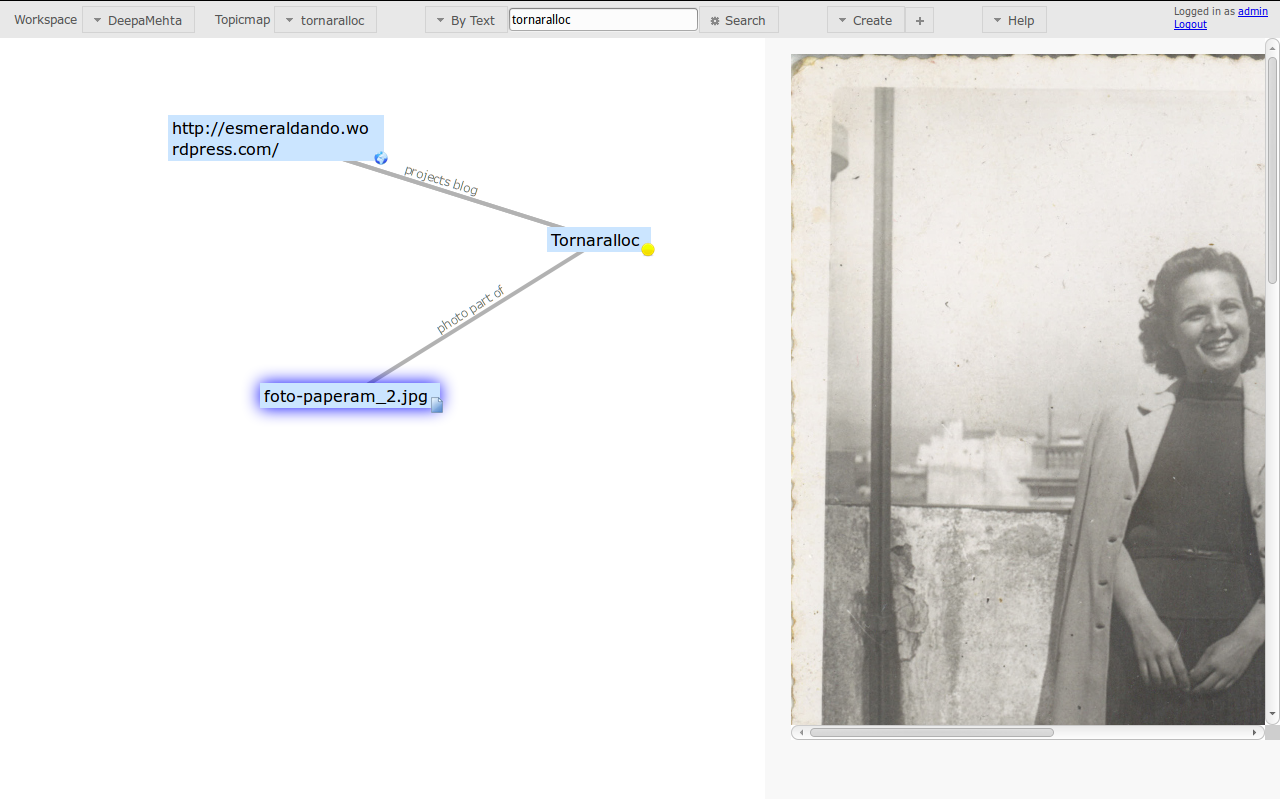
Generally, we access to the photos from the computer, so since we have them there, the idea is to find them and bring them to our DM world. To do that, let's click on the drop-down menu Create that is in the Toolbar, and then click "New File Browser".
On the Detail panel, on the right side of the screen, you will see the File Browser and you'll recognize your computer's tree structure, browse until you select the photo you are looking for.
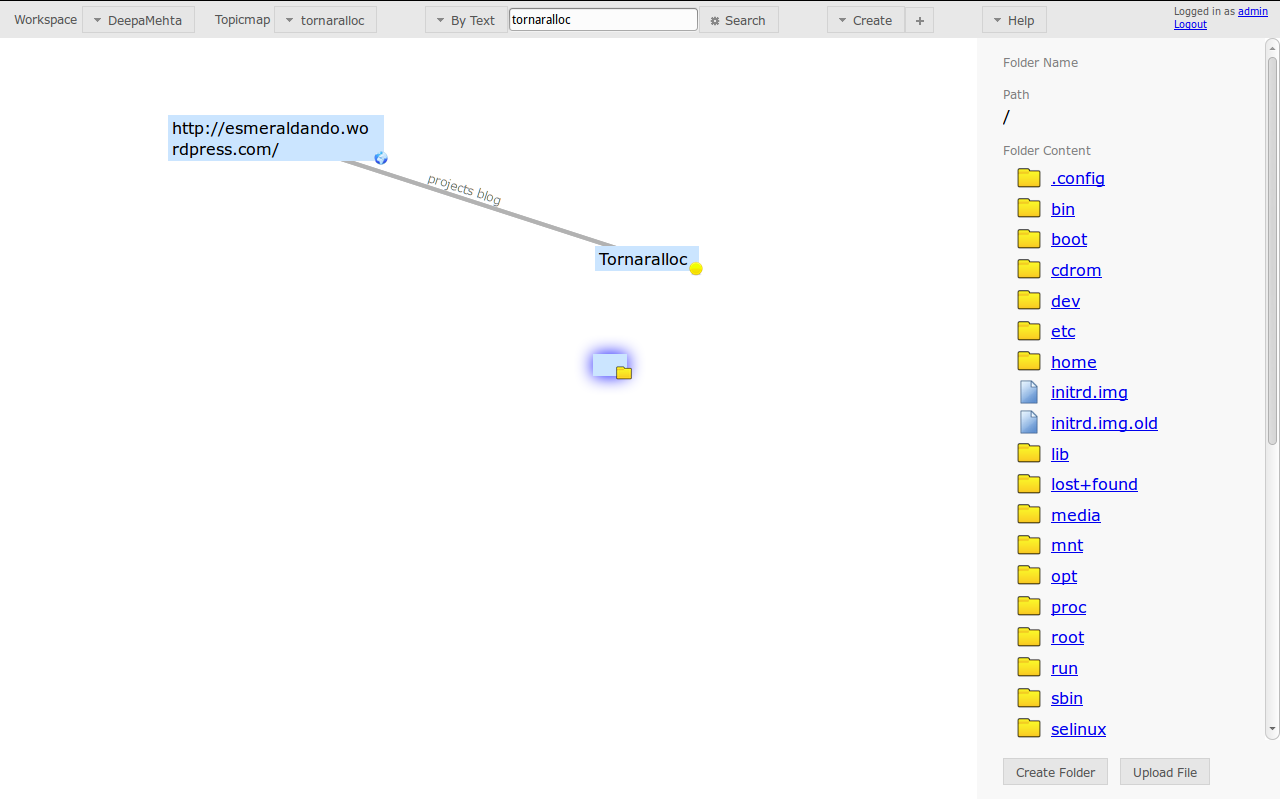
You will see that a lot of Topics and Associations begin to appear on each click. It's drawing the path to the file. If it's a long path, at some point, the canvas may "move down" to find space to draw everything, but since the canvas is infitive, there is no problem of space here :). Once you've selected the photo, you'll see it on the Detail Panel :).
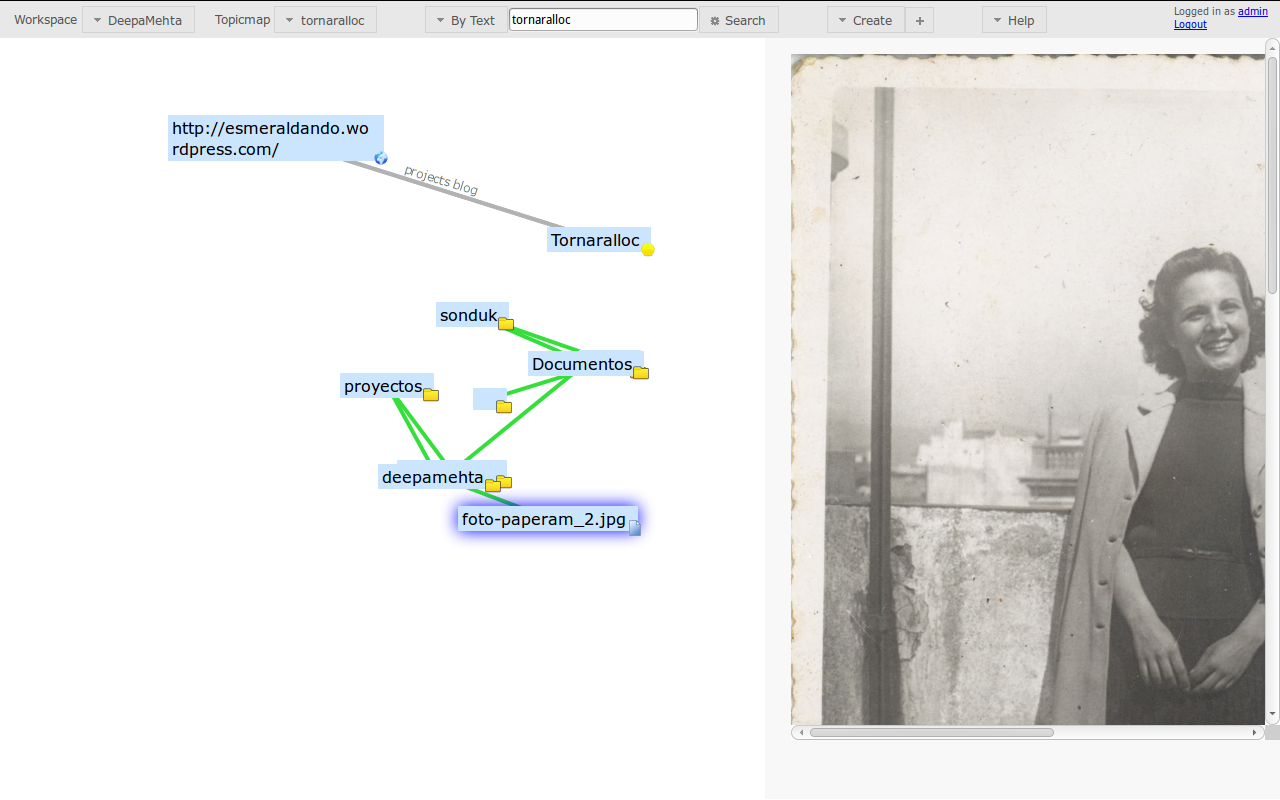
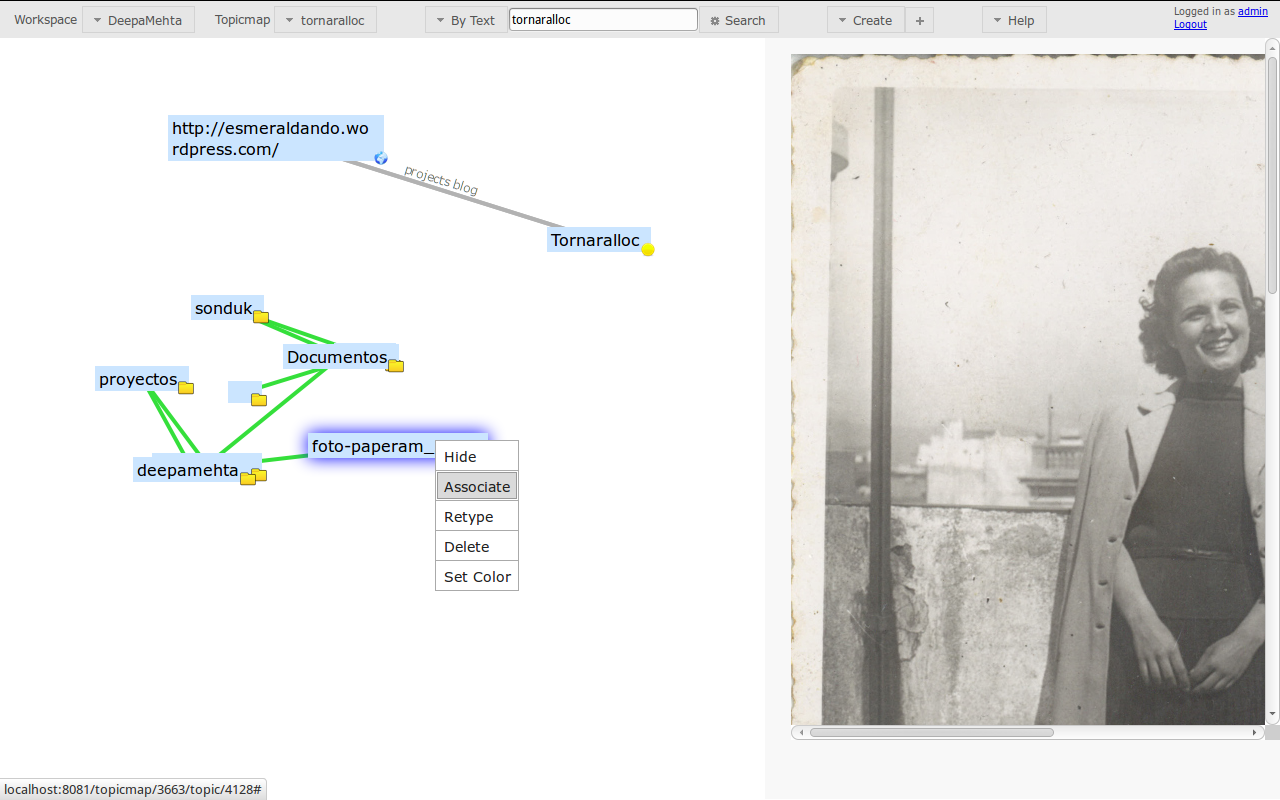
Now you have the photo in the middle of the Topicmap but is not yet associated with the Note "tornaralloc", to do it: right click on the Photo, select associate, and drag to Topic Note
Ok, you've made the relation but now there are lot of Topics and Associations that you don't really want to see, so it's time to Hide things.
In DM language the relations are called Associations.
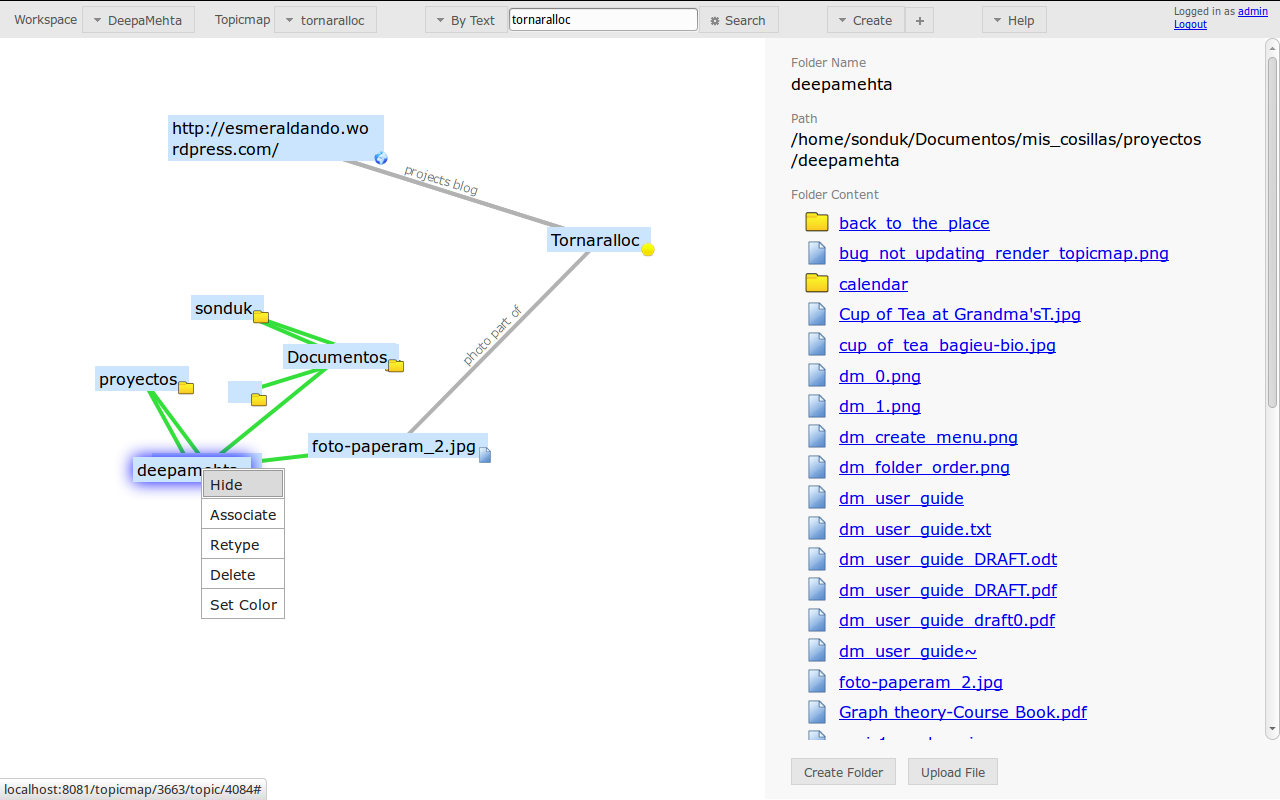
Repeat this operation with all the topics that you want to hide and you'll have a clearer screen :D
Nice, time for another pause, but we've already had a lot of tea, so let's have something to eat :)
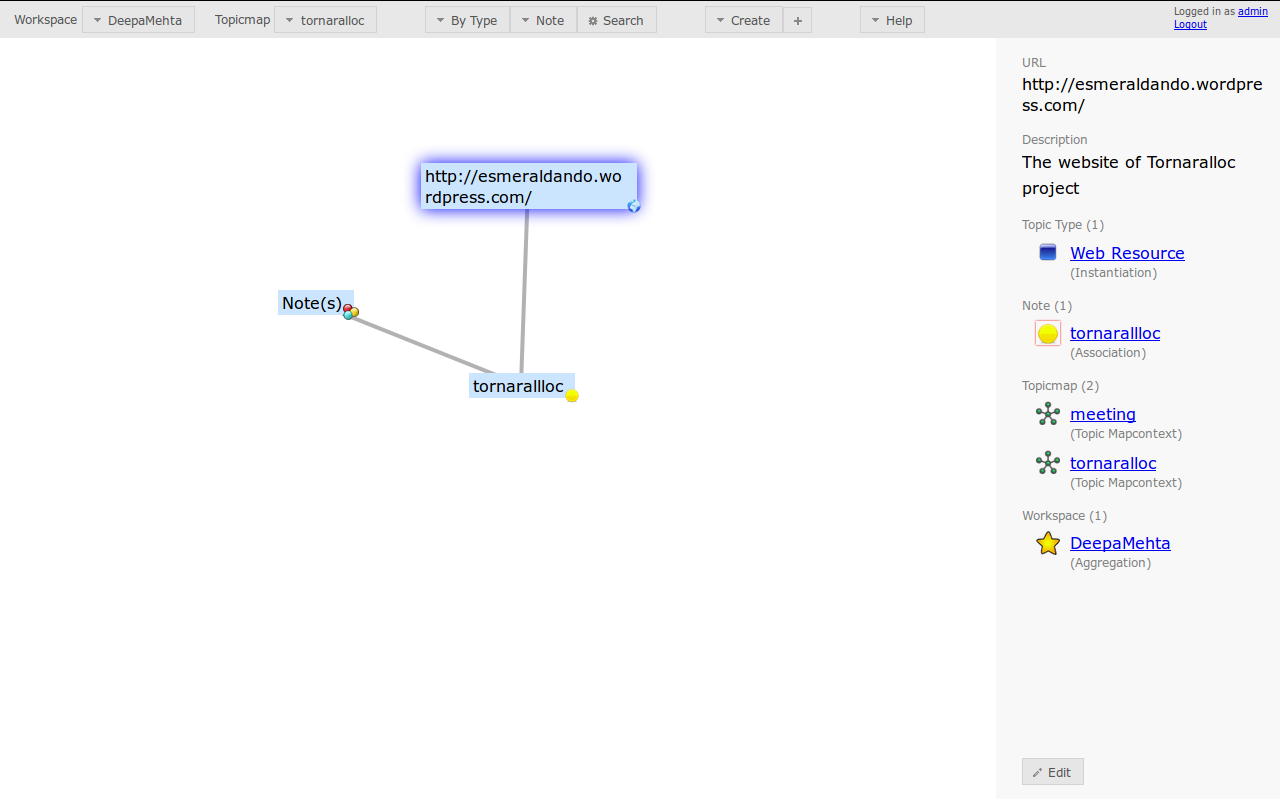
Ok, one thing that we forgot to mention before is the fact that, when we add a Web Resource, if we click in the URL link that is in the Detail Panel, we will see that another Topic appears also with the URL, but if we look at the bottom of the Detail Panel we will see an "Open URL" button.
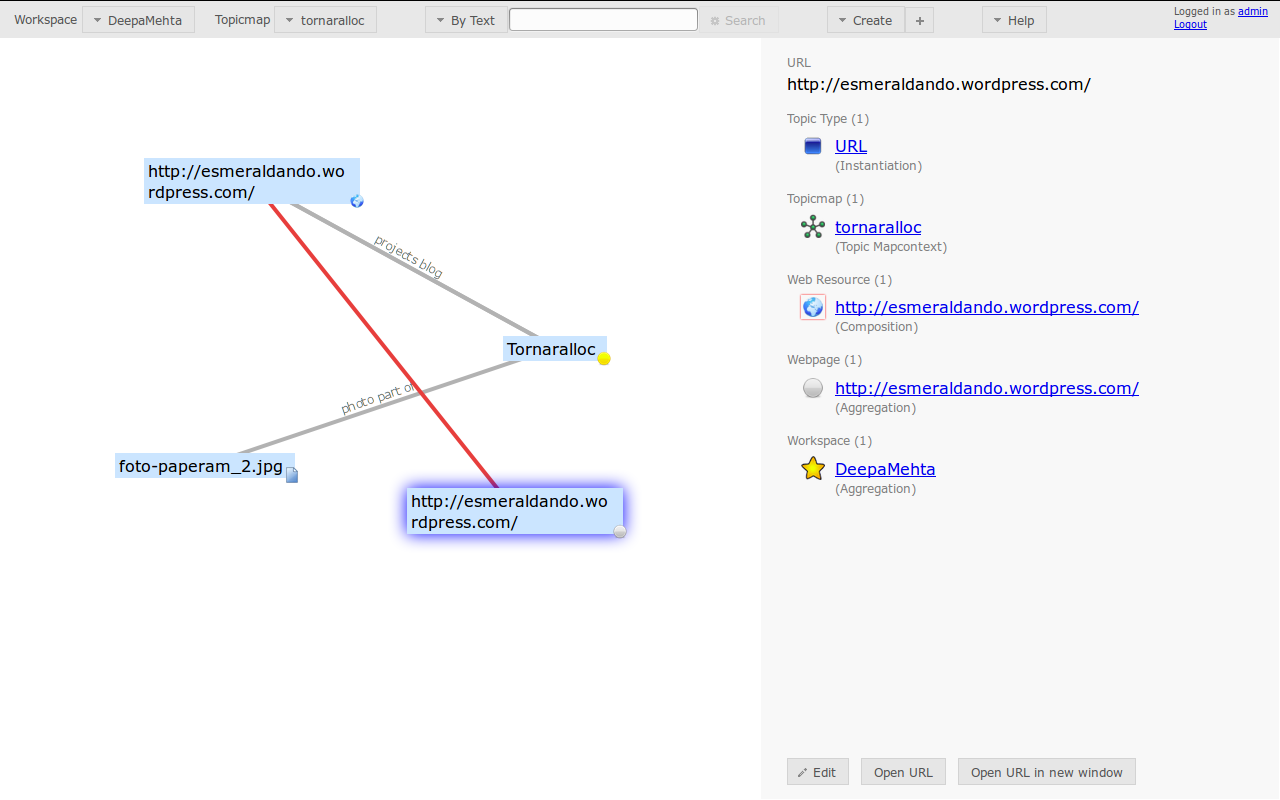
When we click on it, we will see the webpage on the Detail Panel.
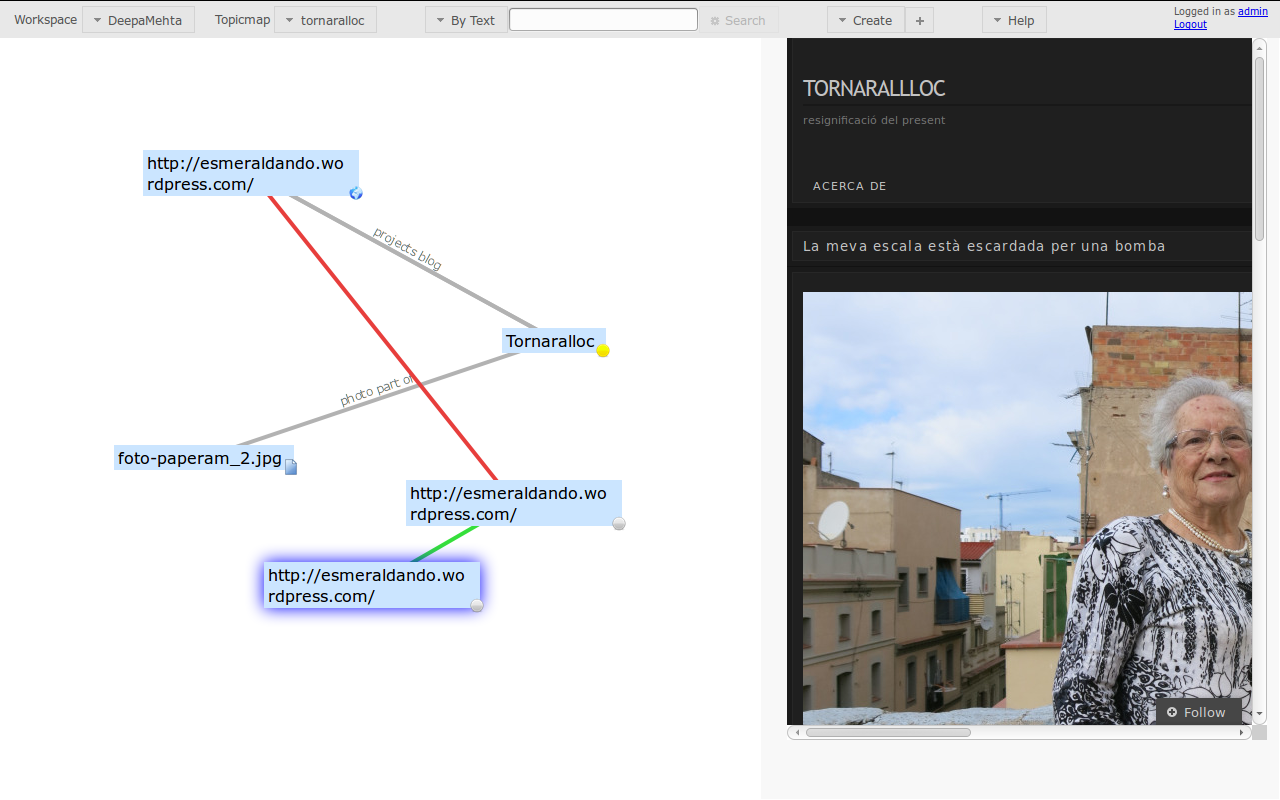
Let's hide the Topics that we don't need to see, and associate the webpage to the "Web Resource".
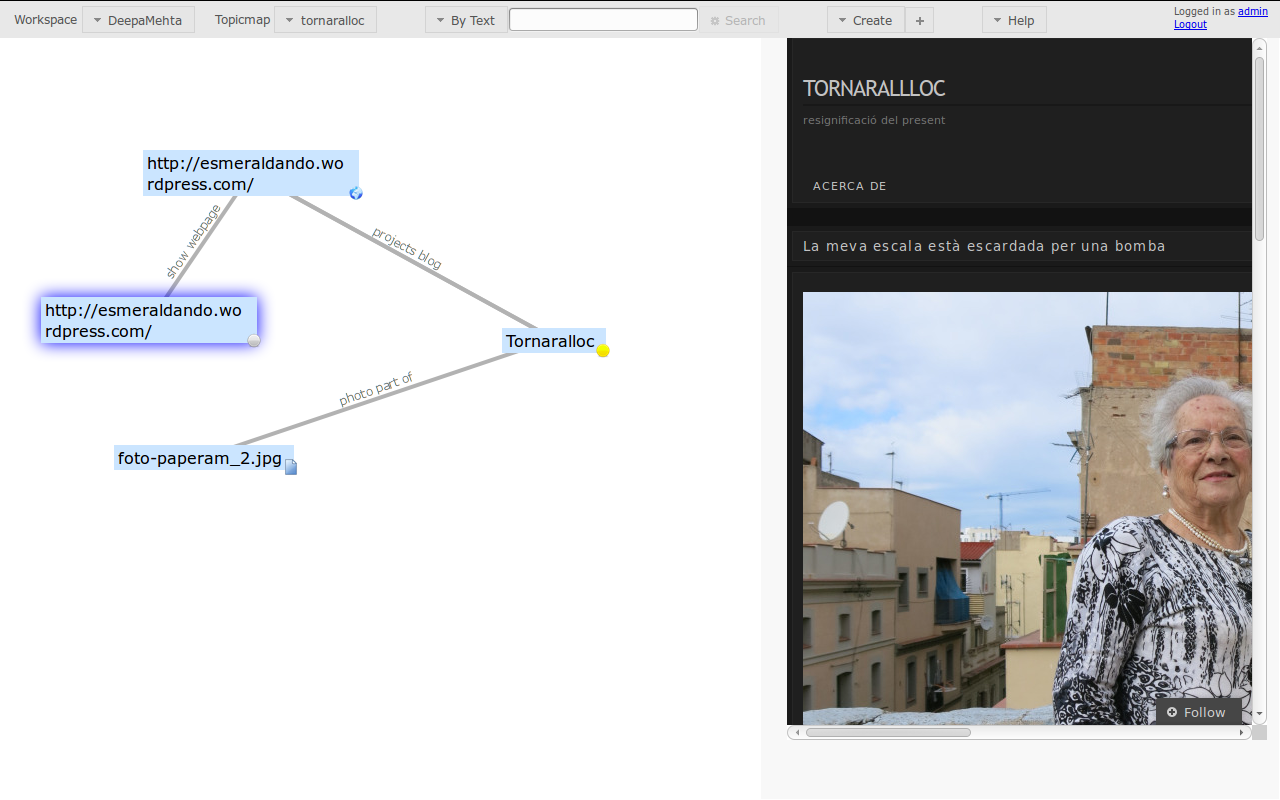
To hide things, right click on each of the Topic and click on Hide, hidding the topic will hide also the Association.
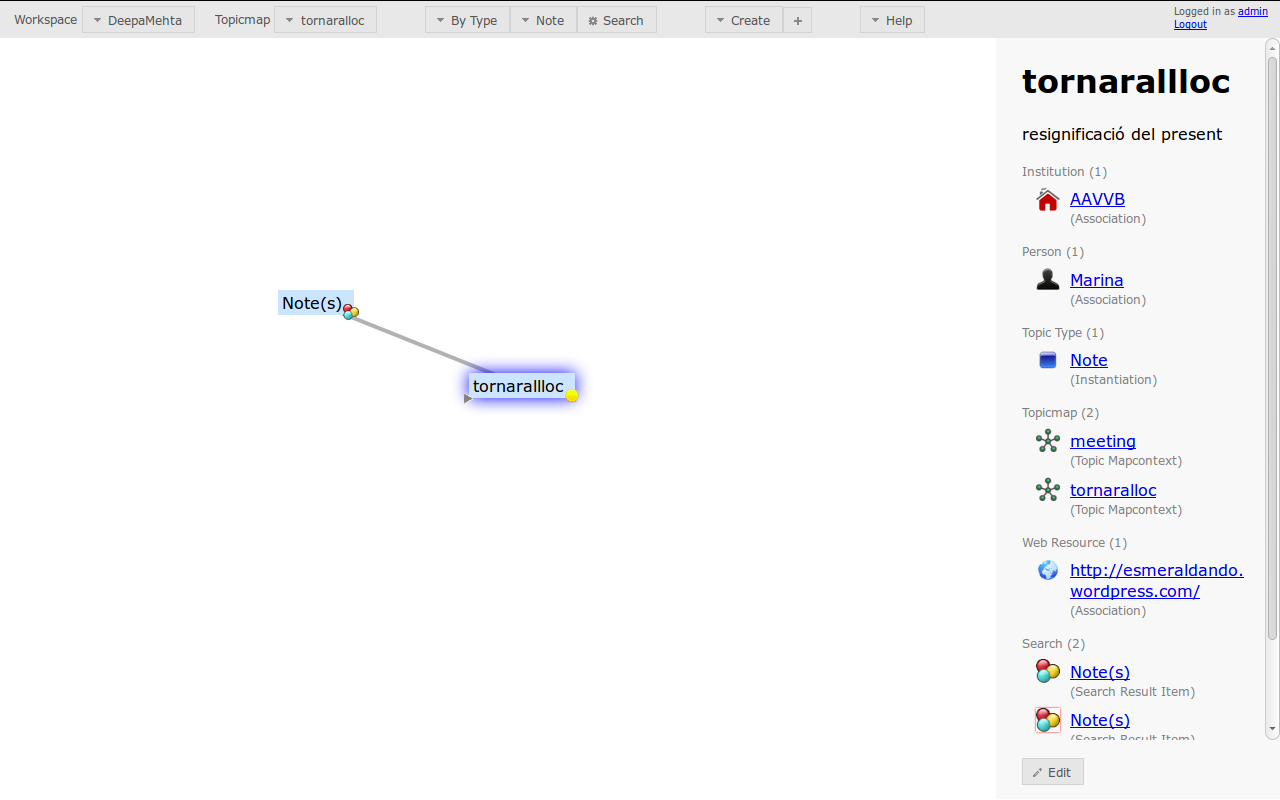
Until now, we have been using the Detail Panel, but we have not stopped to understand all the information that is in there.Let's do it now.
Click on Note "Tonarallloc", on the Detail Panel we will see the Title and the Text of the note, but below there is some interesting info.
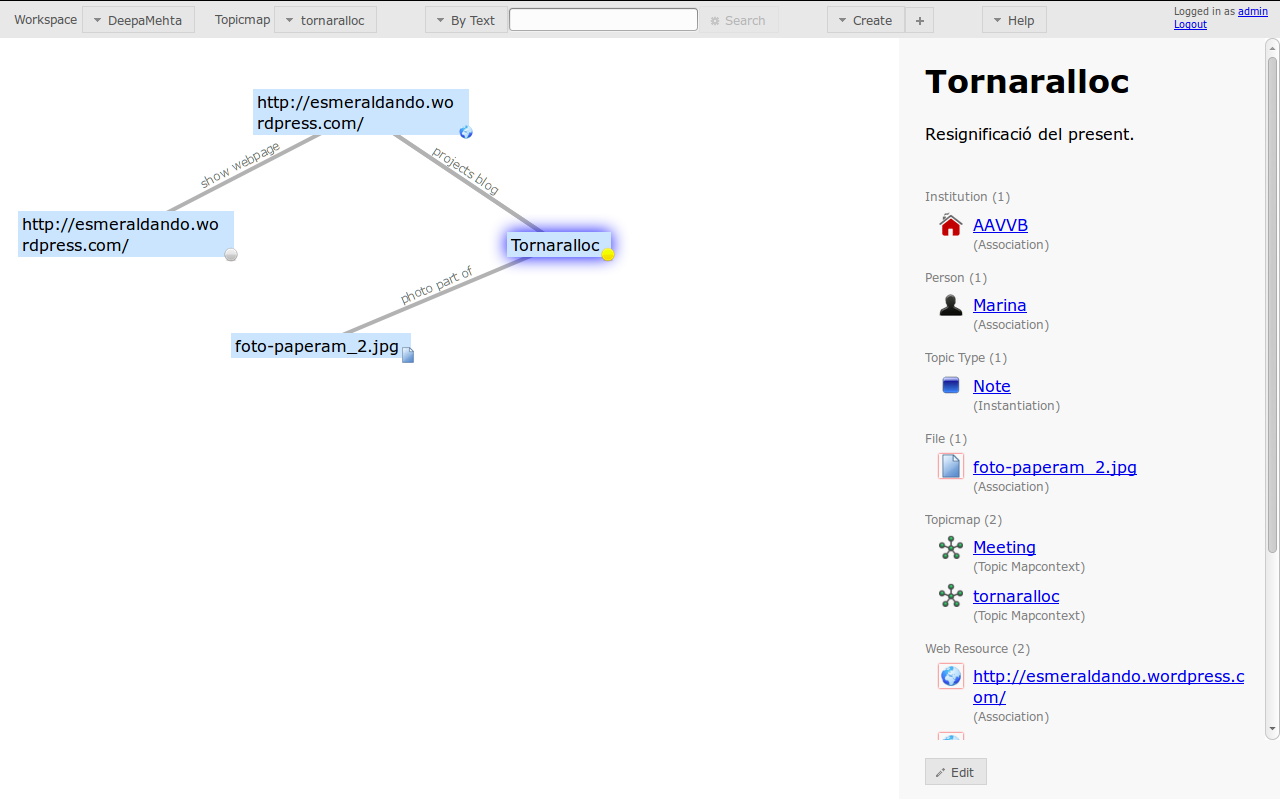
First you see the relations that Note "Tornarallloc" has with other Topics, those are:
- With Institution: AAVVB
- With Person: Marina
- With File: foto-paperam_2.png
- With Webresources: http://esmeraldando.wordpress.com/
Then we can also see information under the "Topic Type" headline, in our case is "Note" because our specific Note "Tornar al lloc" is an instance of the general idea of Note define in "Topic Type Note". Also we can see in which Topicmaps appears our Note, in our case that is "Meeting" and "Tornar al lloc".
If you go to the bottom of the Detail Panel, you will also see that our Note is on a "Workspace" called DeepaMehta. Workspace would be like the topmost container for our content, let's say we could have one Workspace per project.
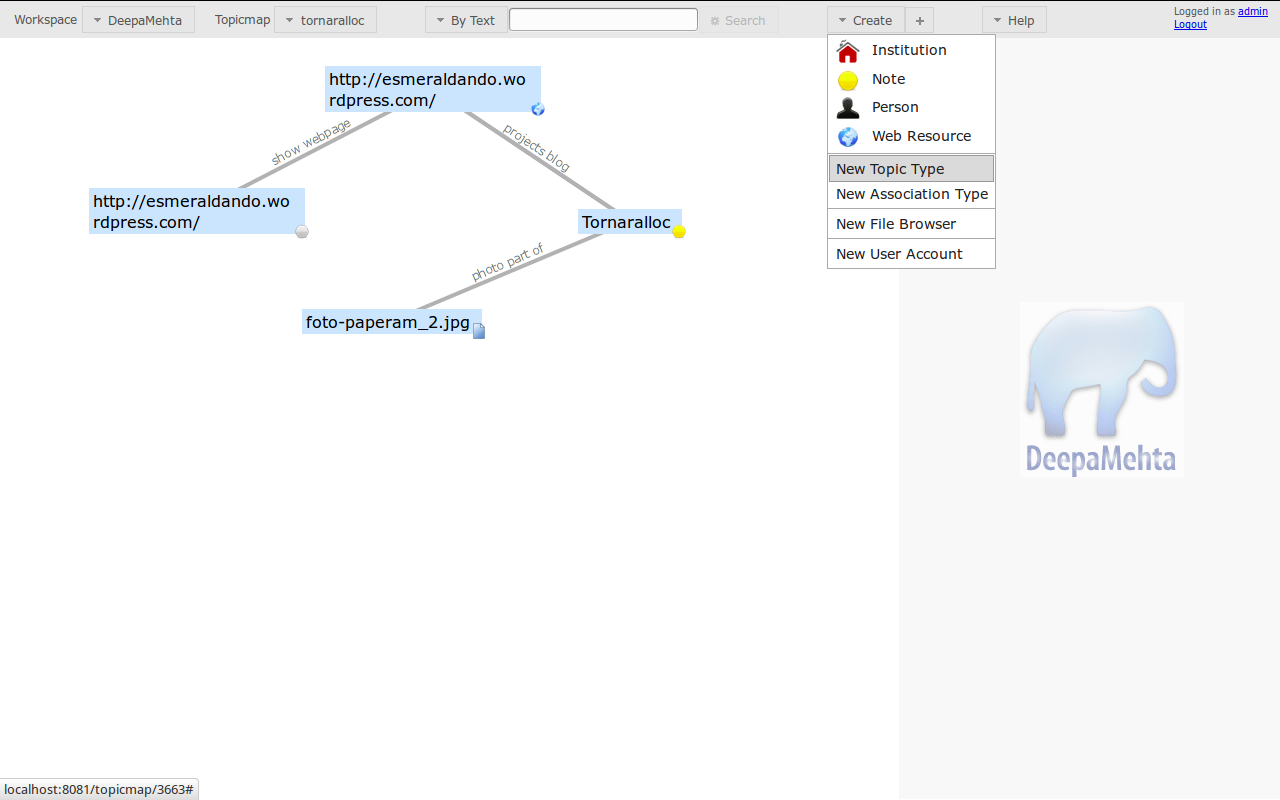
One of the activities that would be done as part of "Tornar al lloc" project is to do guided walks through the neighborhood. "Walk" is not a Topic Type thatcan be selected from the pre-defined Topic Types under the Create drop-down menu list. So it's time to create our own Topic Type.
We go to the Create drop-down menu, we click on "New Topic Type",
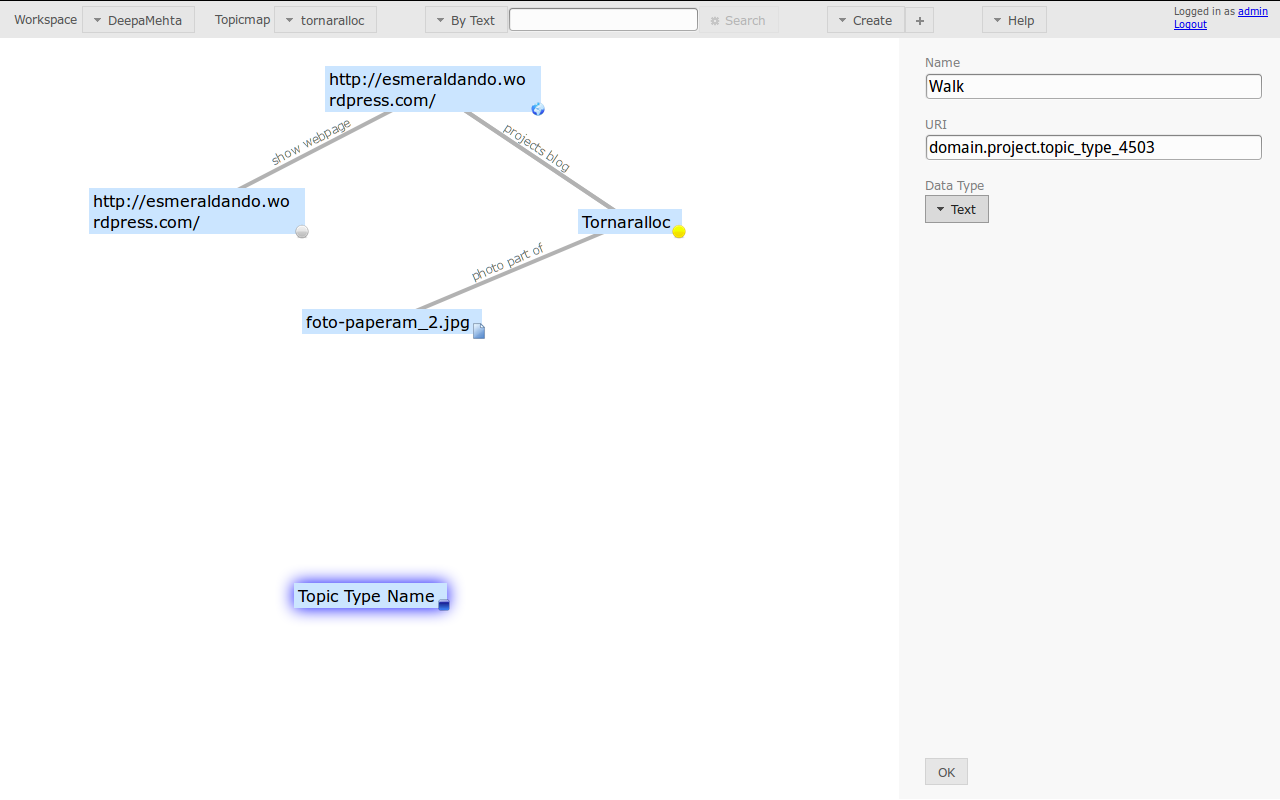
Then on the Detail Panel we can set a name for our new Topic Type, a relevant and a descriptive one would be, "Walk"
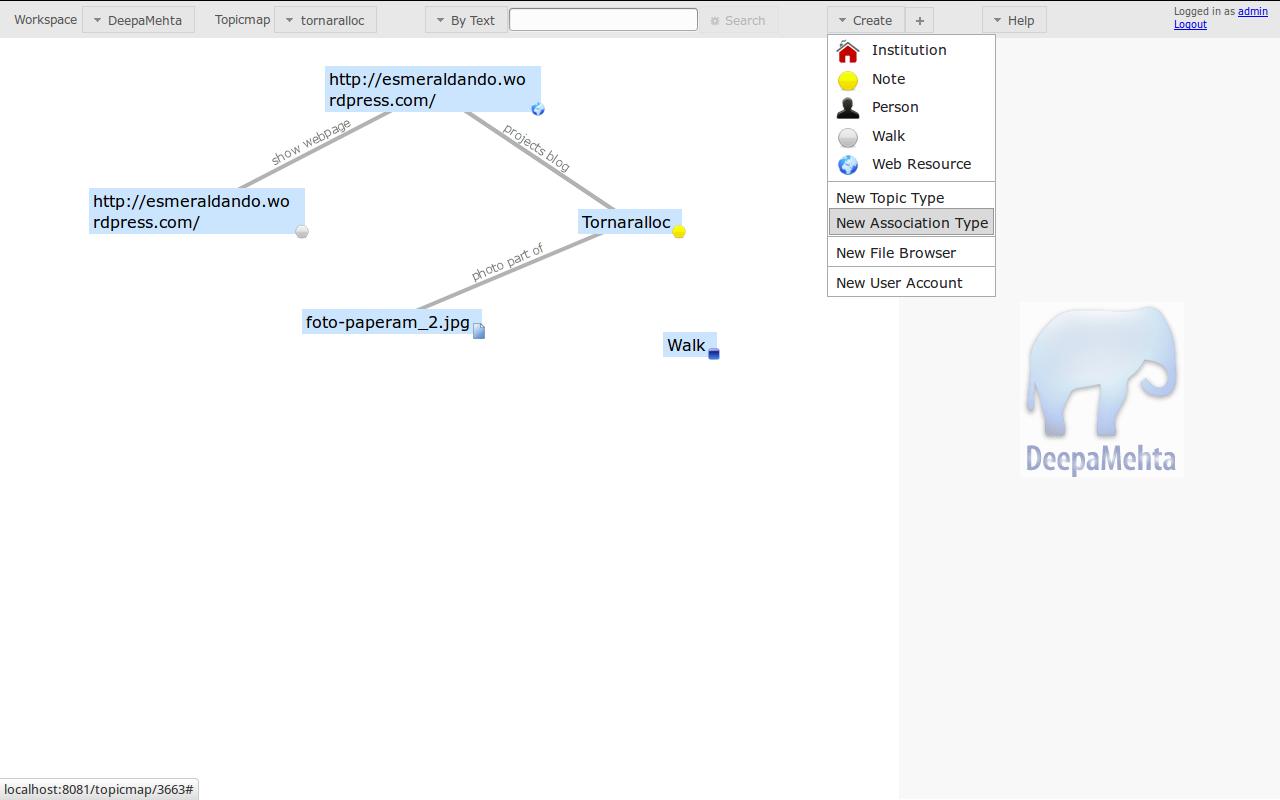
So now we have our new Topic Type "Walk" on the Create drop-down menu list
The idea of creating our own Topic Types, is to define in a more accurate way the information that we want to reflect. Since our project will take place in Barcelona, and in the Barceloneta neighborhood, we can name our walk Barceloneta

Until now, we have used default Associations to associate Topic Types. But in the same way that we need to create new Topic Types, we may need to create new Associations, as a key part of our project. "Walks" are going to be a key action in the project and the fact that they are guided too, So lets create a "guided walk" association.
We go to the Create drop-down menu list, click on "New Association Type".
Then we name the Association Type to "Guided walk"
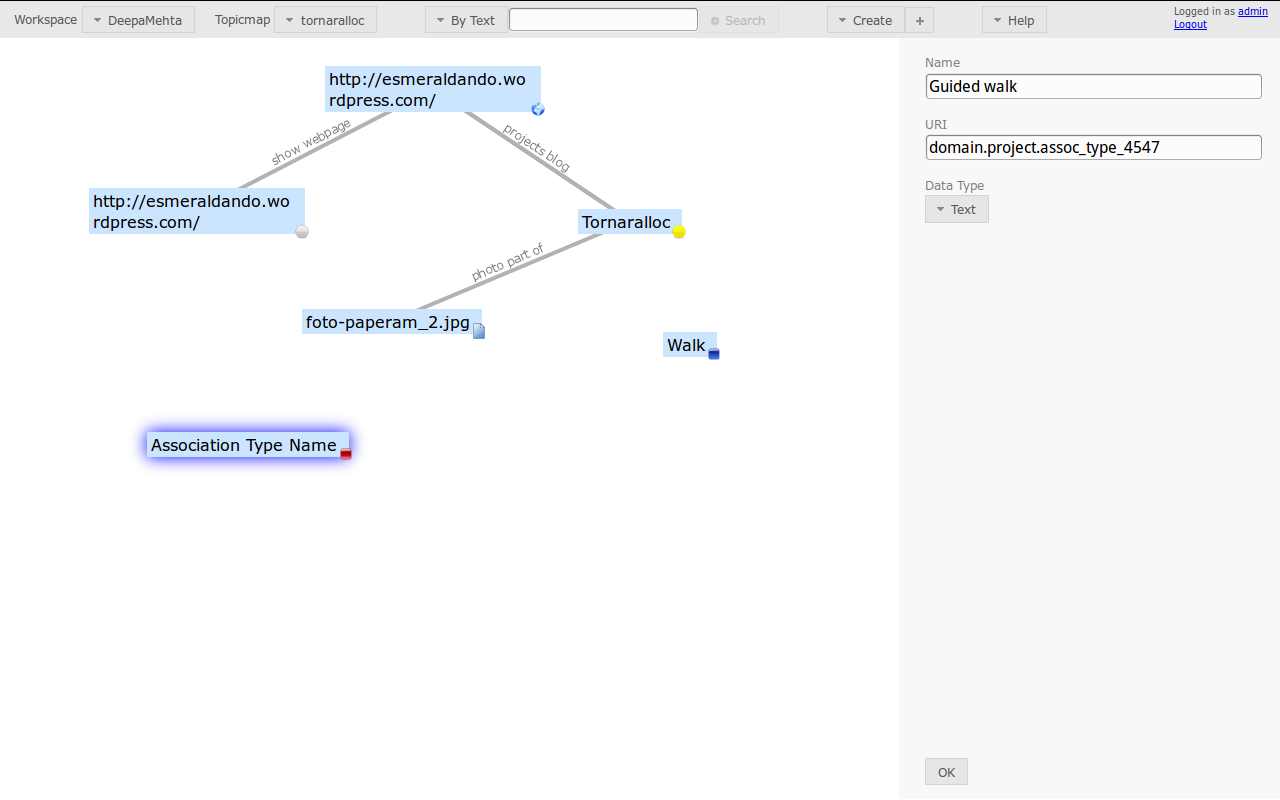
Now we want to make an Association between Topic Type "Tornar al lloc" and Topic Type "Walk", and we want that Association Type to be "Guided walk". So we create the association the same way we've done until now, and then we go to the Detail Panel, and the new thing is that when clicking on the Association Type drop-down box we are able to select "Guided walk".
We have created a new Association "Guided Walk" for our "Tornar al lloc" project, but we will be able to use that association in any other project.
Looking at our Topicmap "tornarallloc" we can see that most of the information related to the project can now be reflected in the Topicmap, that we can extended with any new info. So I would consider this first part using DM is over. For sure there may things that you miss or information that you would like to introduce, hopefully now you can find your way to completing you own project.
Until here, we have just focus on the "by default" features basically, even when creating new Topic and Associations. In part II, I will dive a bit more into how to define different kinds of associations between topics. And part III will be an update of the post I did some time ago , on how to create your own Topics Types in a permament way by creating a plugin.
Workspace would be like the topmost container for our content, let's say we could have one Workspace per project. The default Workspace is called DeepaMehta.